


"I just want to trim a few seconds of screen recording, remove the unnecessary parts at the beginning and end, add subtitles, and export it."
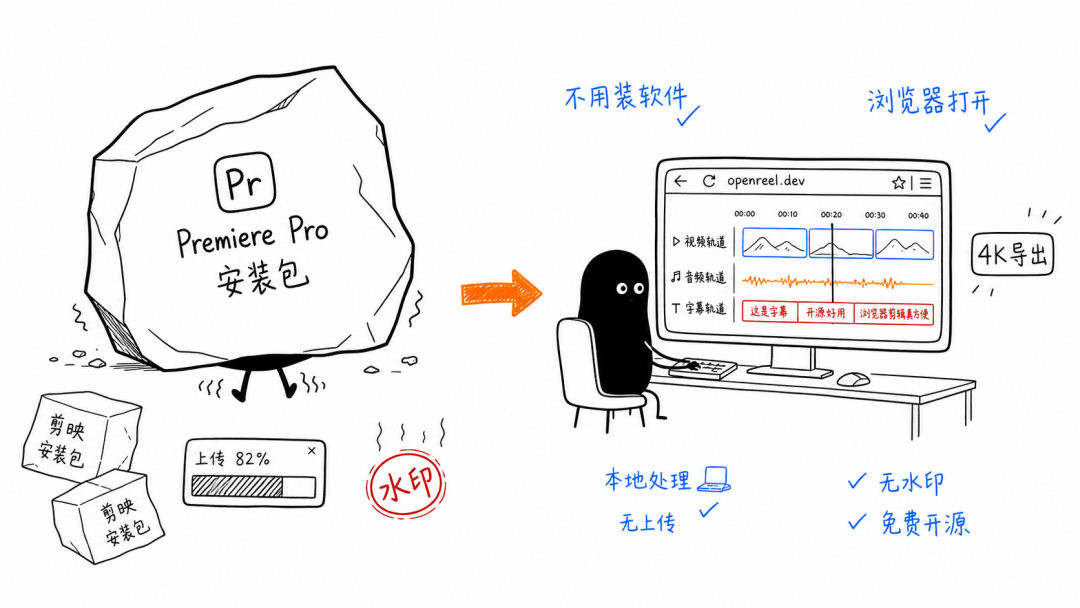
For just these few steps, I have to deal with Premiere Pro's startup loading, CapCut's installation and registration, and a pile of online tools saying "Uploading, please wait."
Every time I watch PR's loading bar slowly move, I think: I'm only editing a 30-second video. Is all this really necessary?
Your computer may not have any video editing software installed at all, but one day you suddenly need to process a video — trim the unnecessary intro from a product demo recorded for your manager, add subtitles to a proposal video for a client, or do some basic editing on an internal team training video.
Open PR? Too slow and too heavy. Learning professional software for a three-minute video just isn't worth it.
Try an online tool? Open the website, upload the video, wait forever, start editing, export, and then discover that the free version only supports 720p and adds a watermark at the bottom. More importantly, your video footage has already been uploaded to someone else's server.
So is there a tool that requires no installation, no uploading, offers enough features, and is free?
Yes.
OpenReel Video is an open-source video editor that runs in your browser. It offers a multitrack timeline, AI subtitles, 3D transforms, color correction, and 4K export, with all processing completed locally. Your video files never leave your computer.
Licensed under the MIT license, with no watermarks, no feature restrictions, and completely free.
>
What exactly is this?
The official description calls it an "open source CapCut alternative". But it has one fundamental difference from CapCut — it runs in your browser.
That's right: open openreel.video and start using it. Nothing needs to be installed.
But it is not one of those online tools that "upload your video to a server, process it, and then let you download it." The entire video processing workflow takes place in your browser, powered by WebGPU and WebCodecs. Your footage stays local from beginning to end.
This is especially important when working with sensitive material. For example, if you need to edit a screen recording containing client information, an internal meeting video, or anything that cannot conveniently be uploaded to a third-party server, OpenReel ensures the files never leave your computer.
The project currently has 3.6k Stars on GitHub, is built with TypeScript, and uses the MIT license. Although it is still in Beta, its editing capabilities are already quite complete.
Browser support: Chrome 94+, Edge 94+, Firefox 130+, and Safari 16.4+. Basically, unless you are using an extremely outdated browser, it should work.
Feature breakdown
I used it for a while and went through its features.
1. Multitrack timeline + basic editing
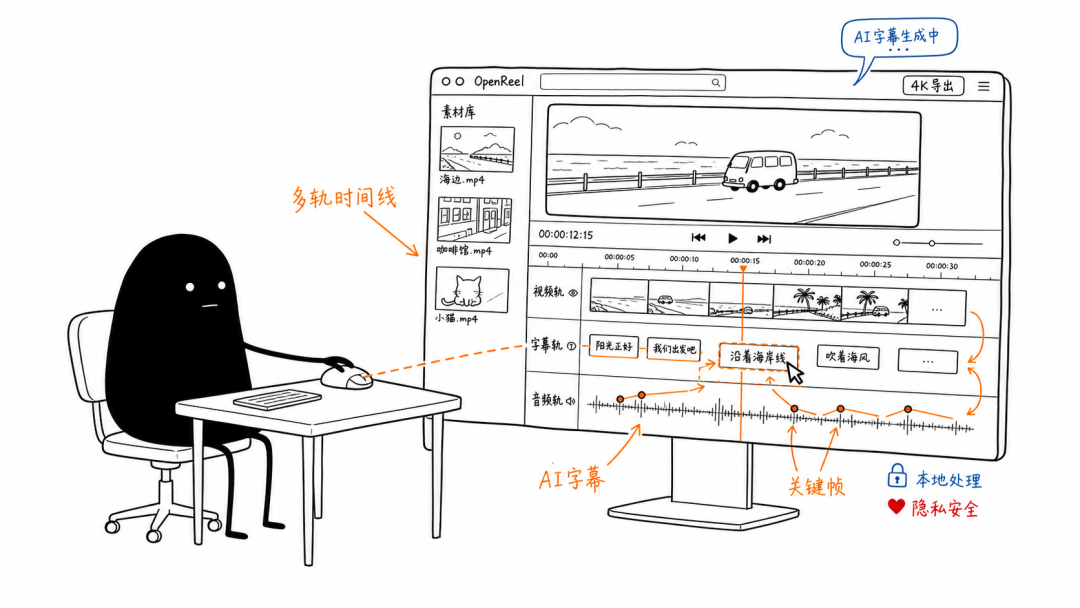
For a video editor, the core feature is the multitrack timeline. It supports overlaid video, audio, and text tracks. Drag media onto the timeline, split, trim, and delete clips, adjust their order and duration, and layer multiple tracks (main video + picture-in-picture + background music) — all the usual operations are there.
The workflow is similar to CapCut and PR: zoom with the mouse wheel, drag clip edges to adjust duration, and use the right-click menu to split clips. There is virtually no learning curve.
2. Transitions and video effects
Dozens of built-in transition effects are available, including fade, dissolve, slide, and wipe. Just drag one between two clips to use it.
For video effects, common filters such as blur, sharpen, noise, and glow are included. There are not an overwhelming number of them, but they cover everyday editing needs.
3. AI subtitle generation
This feature deserves a separate mention.
Built-in AI speech recognition supports automatic subtitle generation in more than 90 languages. Click to add subtitles, choose "Auto-generate," and the tool recognizes speech in the video and creates subtitles with a timeline.
I tested it with a Chinese voice video, and the recognition accuracy was quite good. It generally required very little manual correction. The generated subtitles are in SRT format, and each entry can be edited, retimed, and restyled.
It is highly practical for courses, product demos, Vlogs, and other scenarios that require subtitles.
A quick note: AI subtitles use a browser-based machine learning model for inference, which may require loading model files. If your network connection is unstable, the first use may require waiting for the model to download.
4. Keyframe animation + text animation
I was a little surprised that a browser-based editor has a complete keyframe system.
You can add keyframes to video clips, text, and images to create animations such as movement, scaling, rotation, and opacity changes. Text animation includes several preset entrance and exit effects, and custom keyframes are also supported.
It is more than enough for title animations, subtitle pop-ins and pop-outs, and Logo displays.
5. Color correction
This section is surprisingly well equipped:
LUT support: Load .cube LUT files and apply color-grading presets with one click
Color wheels: Independently adjust shadows, midtones, and highlights
Curves: RGB curve color grading
Basic parameters: Exposure, contrast, saturation, highlights, shadows, temperature, and tint
Having these features in a browser app exceeded my expectations. It cannot match professional color-grading software, but it is more than sufficient for enhancing everyday videos.
6. Audio mixing
The audio tools are no slouch either. Multitrack audio mixing, volume envelopes, and audio ducking — features usually found only in professional editing software — are all included. Each audio track can have its volume and pan adjusted independently, with support for an EQ and compressor, audio ducking (automatically lowering background volume when background music overlaps with speech), and keyframe-based volume control.
This set of tools is fully sufficient for voice-over videos or podcast editing.
7. 3D transforms
This is a fairly advanced feature. You can apply 3D spatial transformations to video clips — rotation, tilting, perspective distortion, and even pseudo-3D parallax effects.
It can be fun for picture-in-picture layouts, product showcases, or creative transitions.
8. Export options
Finally, let's talk about export. Some "free" tools may offer powerful features, but if they add a watermark or limit the resolution during export, the rest is pointless.
OpenReel offers very practical export options:
Formats: MP4, WebM
Resolution: Up to 4K (3840x2160)
Frame rates: 24/25/30/60fps
Codecs: H.264, H.265 (HEVC)
Quality: Adjustable bitrate
There are no watermarks or locked features at all. Exported videos are clean, with no overlays.
That said, 4K export is demanding on browser performance. If you are using an office laptop with integrated graphics, 1080p export is recommended. It is much faster and can help prevent browser crashes.
>
Hands-on experience: What is it really like to edit a video with it?
Features alone do not tell the whole story. I went through the complete editing workflow in OpenReel and here is what I thought.
Startup speed
When I first visited openreel.video, the page loaded quickly. The main editor interface appeared in about 3-5 seconds. There was no registration process or login pop-up — just an empty timeline waiting for me.
It felt great. By comparison, from double-clicking the PR icon to actually getting started, I have at least enough time to get a glass of water while it loads.
Importing media
I dragged in a 5-minute 1080p screen recording. Importing was very fast, taking only seconds. The media appeared as thumbnails in the media library panel and could be edited as soon as it was dragged onto the timeline.
Editing operations
Timeline operations were very smooth. Splitting, trimming, and dragging clips to adjust their positions all responded quickly. I made several cuts and deleted a section without experiencing any lag.
Adding subtitles
AI subtitle generation took 30-40 seconds for a roughly 3-minute Chinese voice recording. The generated timeline was generally accurate, requiring only minor manual adjustments in a few places. Style editing was also intuitive: the font, size, color, and background could all be adjusted.
Adding transitions and background music
I added a fade transition between two clips and dragged in an MP3 track as background music. I adjusted the volume and used audio ducking to automatically lower the background volume when speech appeared.
Color grading
I applied one of my own LUTs and slightly adjusted the contrast and saturation. The color-wheel interaction is similar to DaVinci, so it was easy to learn.
Export
Exporting a 3.5-minute video at 1080p with H.264 and a medium bitrate took about 2 minutes. The exported video looked clear, with no obvious loss in quality.
Hardware usage
I monitored Task Manager during the process:
CPU usage: 40%-60% (my machine has an i7-12700)
Memory usage: approximately 1.5GB
GPU usage: spiked during export
Overall, the 1080p editing experience was smooth. I did not try 4K editing; my integrated graphics would probably struggle.
Minor issues
Since it is still in Beta, it is not without drawbacks:
There is occasional input lag, especially when the timeline contains many tracks
The subtitle editing interface is not very intuitive, so CapCut users may need some time to adjust
The preview frame rate is low for some transition effects
Projects do not sync to the cloud, so it is recommended to save the local project file promptly after editing
These issues do not affect core usage, but they do make it clear that this is a project still undergoing rapid iteration.
Comparison
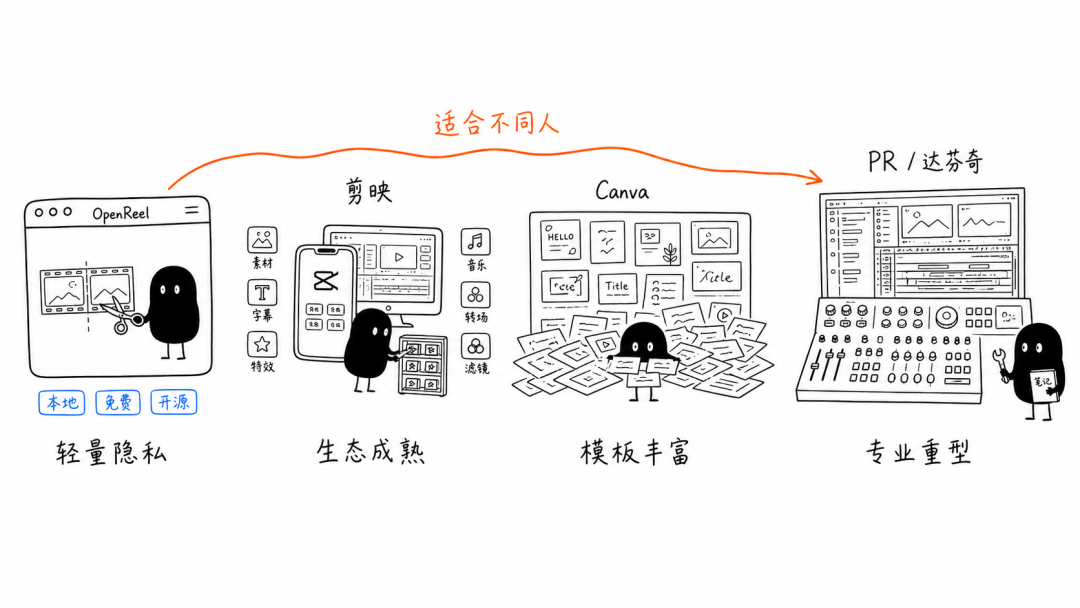
It is not a replacement for PR, but it can cover 80% of everyday editing needs.
Comparison|OpenReel Video|CapCut|Canva Video|PR/DaVinci
Installation|Open in a browser|Requires installation|Browser-based|Requires installation
Media processing|No uploads, entirely local|Local processing|Uploads media|Local processing
Price|Completely free|Free + subscription|Free + paid features|Paid subscription
Multitrack editing|Supported|Supported|Supported|Professional-grade
AI subtitles|90+ languages|Supported|Supported|Requires a plugin
Color grading|LUT/color wheels/curves|Basic color grading|Basic filters|Professional color grading
4K export|Supported, no watermark|Supported|Paid feature|Supported
Open source|Yes (MIT)|No|No|No
Stability|Beta|Mature and stable|Stable|Very stable
Best for|Lightweight users, privacy-sensitive users|Everyday creators|Social media operators|Professional production
>
vs CapCut: CapCut offers more features, a more mature ecosystem, and more templates. But if you have concerns about ByteDance software, or simply want to make a quick edit without installing a client, OpenReel is a good option. CapCut's free version is also feature-rich; OpenReel's advantages are that it does not upload your files and is open source.
vs Canva and other online tools: Canva's video features are improving, but the free version has many restrictions and requires you to upload your media to its servers. OpenReel's local processing offers a fundamental privacy and security advantage. However, Canva has a huge library of media and templates, while OpenReel does not.
vs PR/DaVinci: There is actually little need for a comparison. PR and DaVinci are professional production tools, and their feature depth is on a different level. But look at it another way: if you just need to edit a short video to share in a work group, do you really need to open PR? In the few minutes it takes to launch, OpenReel may already have finished exporting.
Who is it for?
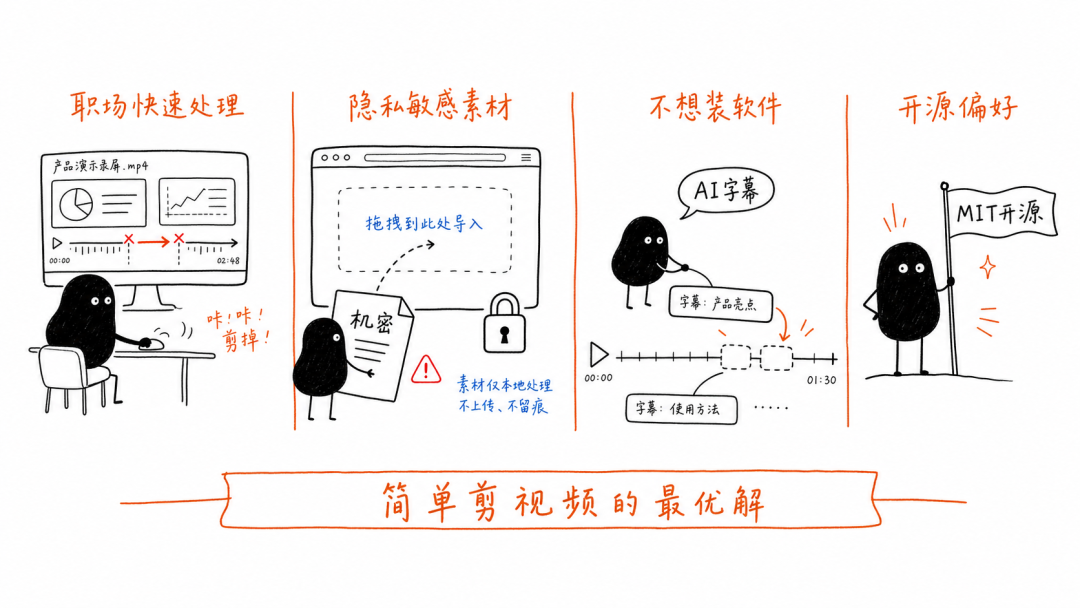
Good use cases:
Professionals who need to quickly process screen recordings and demo videos
Users with privacy requirements for their media, such as client footage and meeting recordings
People with lightweight editing needs who do not want to install large software
Technical users who prefer open-source tools
Curious users who want to try browser-based video editing
Less suitable use cases:
Professional video production and complex multitrack projects
Content creation requiring extensive effects and template support
Users with low-spec computers who need 4K editing
Commercial production environments with strict stability requirements
In one sentence: if you just want to make a simple video without installing software, uploading your footage, or spending money, OpenReel Video is the best solution I have found so far.
>
How to access it
Save these links:
Try it online: https://openreel.video (open it directly in your browser)
GitHub repository: https://github.com/Augani/openreel-video (MIT open source license; you can study or deploy it yourself)
Browser requirements: Chrome 94+ / Edge 94+ / Firefox 130+ / Safari 16.4+
Before using it for the first time, update your browser to the latest version to ensure proper WebGPU and WebCodecs support.
Tools like OpenReel Video represent an interesting trend: the capabilities of browsers are expanding rapidly. A few years ago, who would have imagined editing video in a browser? Now it is not only possible, but works quite well.
Perhaps in a few more years, "open your browser and get to work" will become standard for many creative tools.