
What Is Brewery?
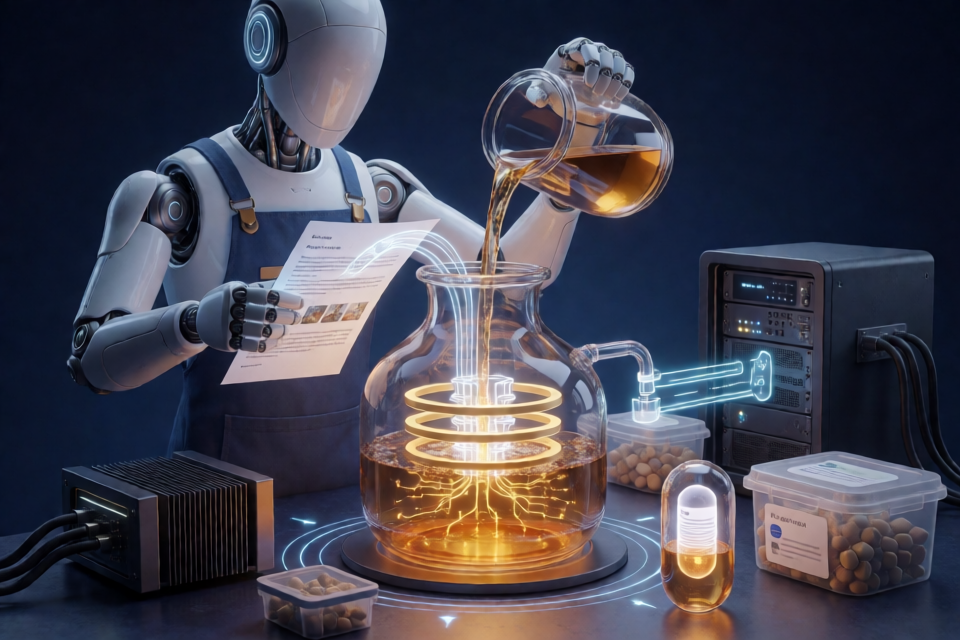
Brewery is a guided agent for fine-tuning language and image models. You describe what you want to build in a conversation with a chosen AI guide, called the brewmaster. Brewery then helps define the goal, choose a base model, prepare data, select safe hyperparameters, run training, test the result, and publish the finished model.
The brewmaster can be Claude, an OpenAI-compatible model, OpenRouter, or a local model running through Ollama or LM Studio. Brewery adapts its explanations and tools to your experience level: Beginner, Hobbyist, Builder, or Expert.
Training can run on your own NVIDIA or AMD GPU, or on a rented server accessed through SSH. The laptop running Brewery only needs to act as the control plane when training happens elsewhere.
Key Features
- Fine-tune supported text models with LoRA, QLoRA, or full fine-tuning.
- Train text models with continued pretraining, supervised fine-tuning, and preference tuning.
- Train Qwen-Image 2.1 LoRA adapters for styles, characters, and objects.
- Import data from Hugging Face, local files, or examples created with the brewmaster.
- Optionally generate synthetic data or preference pairs after reviewing the provider terms.
- Use Empero Trace Format, or ETF, for conversations, tool calls, reasoning, RAG documents, preferences, raw text, completions, and images.
- Estimate memory, time, and cost before training begins.
- Run training locally or on Runpod, Vast.ai, or another SSH server.
- Export adapters or merged models with a generated model card and licence files.
- Upload results to Hugging Face, privately by default.
Install Brewery
Brewery is installed from the GitHub repository with pip:
pip install "brewery-ai @ git+https://github.com/empero-org/brewery-ai"Start the application with:
breweryOn the first run, Brewery asks which AI should guide you and requests its API key. Credentials are stored locally in files readable only by you. The setup also asks for your experience level and a project name before creating a project folder.
Install Training Support for a Local GPU
If you plan to train on an NVIDIA GPU, install the training extras. This command also brings in a CUDA-compatible PyTorch build:
pip install "brewery-ai[train] @ git+https://github.com/empero-org/brewery-ai"For AMD GPUs, install the appropriate ROCm build of PyTorch first, then install Brewery with the training extras. On Windows, keep PIP_CONSTRAINT=constraints-windows-rocm.txt set so pip leaves the AMD PyTorch installation in place.
Apple Silicon and CPU-only systems are suitable for tiny test runs, while the brewmaster can guide you toward renting a GPU for larger models.
Start Your First Guided Brew
After launching brewery, describe the model you want to build in plain language. For example:
a chatbot that explains chemistry like a friendly pirateThe brewmaster turns this idea into a concrete training plan. It can consider the desired behavior, available hardware, model size, training method, data requirements, estimated cost, and licence restrictions. If the current computer has no suitable GPU, it may recommend a rented 24 GB GPU and estimate the approximate running cost.
All actions that spend money, install software, send data elsewhere, or publish a model require confirmation inside Brewery. The AI guide cannot bypass those prompts, and passwords, API keys, and tokens are not passed through the chat.
Follow the Brewery Workflow
1. Define the Goal
Explain what the model should do, what style it should use, what topics it should know, or which tools and formats it should support. Continue answering the brewmaster’s questions until the objective is specific enough to train and evaluate.
2. Choose Compute
Use brewery hardware to inspect the current system:
brewery hardwareBefore local training, Brewery performs a real GPU operation so driver or PyTorch problems appear before a long job begins. For remote training, Brewery helps prepare an SSH server, upload the necessary data, and run the job detached so it continues if you close your terminal.
3. Select a Base Model
Brewery supports text families including Qwen3, Qwen3.5, related Qwen architectures, Qwen3.5 MoE, Llama 3.1 through 3.3, Gemma 3, and Gemma 4. For image training, it supports Qwen-Image 2.1 LoRA adapters.
Use the model browser to inspect available base models:
brewery models --modality text
brewery models --modality image
brewery models --all
The brewmaster considers the goal, hardware, and licence requirements. It also checks gated-model access where applicable.
4. Prepare Training Data
You can search and preview Hugging Face datasets without downloading them, import local files, write examples with the brewmaster, or use an existing image dataset. Synthetic data is optional and is shaped to your brief. Brewery displays the provider’s terms before generation.
For example, you can ask the brewmaster to rewrite an existing dataset in a particular voice, create conversations from a brief, or produce preference pairs for DPO. Clean imported data with:
brewery etf validate path/to/data.jsonlWithin a project, training sets are stored under data/_sets/. Brewery can remove empty, duplicate, or broken records while keeping a backup.
5. Choose a Training Regime
Each job has an objective and can start from an earlier stage:
- SFT: teaches an instruct model a behavior, style, format, or tool-use pattern.
- CPT then SFT: teaches a base model from raw domain text and then trains it to interact conversationally.
- SFT then DPO: first teaches the desired behavior, then sharpens preferences using selected response pairs.
LoRA stages are merged into their starting weights before the next stage, allowing chained regimes to stack cleanly. Brewery’s propose_training_config tool fills in hyperparameters from supported model guidelines and sizes the recipe to the available GPU.
6. Run Training
Confirm the proposed recipe after reviewing its estimated memory, time, and cost. Training runs detached on the selected machine, while Brewery reports progress, loss, and estimated completion time. If a job fails, the brewmaster presents a plain-language explanation and a suggested fix.
You can inspect jobs with:
brewery status
brewery status JOB
Closing the terminal does not stop a detached training job. Return to the project folder and run brewery to resume the session.
7. Test the Result
After training, test prompts against the new model and compare its answers with the base model. For preference tuning, Brewery can generate two candidates for each prompt. You can choose the better answer in the terminal, or ask the guiding AI to judge with a rubric and then spot-check its decisions.
Useful session commands include:
/statusdisplays the current project and job state./jobslists training jobs./watchfollows active work./levelchanges the explanation level./usageshows usage information./helplists available commands.
8. Export and Publish
When the result is ready, Brewery can export an adapter or merged model, generate a model card, include relevant licence files, and upload the model to Hugging Face. Model cards can contain the training regime, data sources, licences, credits, and before-and-after samples.
Uploads are private by default. Review the model card and licence requirements before making the repository public. When using rented infrastructure, remember to stop or destroy the server: stopped pods and instances may still bill for storage.
Train Image LoRAs with Preview Checkpoints
For Qwen-Image 2.1 LoRA jobs, Brewery renders preview images during training. It creates a baseline set at step zero and additional sets at checkpoints using consistent seeds, making visual comparisons easier.
Preview files are downloaded to paths such as runs/<job>/samples/step_NNNNNN/. Every preview set has a corresponding checkpoint. If an earlier checkpoint looks better than the final result, ask the brewmaster to package that checkpoint.
Use /gallery during a session to start a local side-by-side gallery. It is served on your computer at a local address such as http://127.0.0.1:8765/<random-token>/ and is not reachable from outside. The gallery updates as new previews arrive, lets you enlarge images, and supports comparisons with the base model.
Advanced Tips
Choose the Guiding AI Carefully
Claude is the recommended option for the strongest guidance, while OpenAI-compatible providers and OpenRouter offer broader model choices. Ollama and LM Studio provide local operation; Brewery recommends a 14B-or-larger local model with tool calling for good results. Models without native tool calling can still be driven through an automatic text protocol.
Change the guiding model at any time with:
brewery setupUse ETF for Consistent Data Pipelines
ETF provides one JSONL format for different training materials, including chats, system prompts, tool schemas and calls, reasoning, RAG documents, preference pairs, raw text, completions, and images. This makes it easier to validate and move data between project stages. See the ETF documentation for the format details.
Adjust Terminal Behavior
For limited terminals, use environment variables to simplify the interface or control synthetic-data generation:
BREWERY_AI_PLAIN_INPUT=1
BREWERY_AI_SIMPLE_PROMPTS=1
BREWERY_AI_THINKING=off
BREWERY_AI_SYNTH_WORKERS=4
BREWERY_AI_SYNTH_WORKERS accepts values from 1 to 16. The thinking display can be set to on, full, or off.
Understand the Project Layout
A Brewery project keeps decisions, datasets, jobs, results, and conversation history together:
my-project/
  brewery.yaml
  data/
  data/_sets/<name>/
  runs/<job_id>/
  .brewery/
Paths are stored relative to the project with forward slashes, so a project can be moved between computers and operating systems. User settings are stored in ~/.config/brewery-ai/ or, on Windows, %APPDATA%\brewery-ai\.
Conclusion
Brewery turns model fine-tuning into a guided, inspectable workflow. Install the control-plane application, choose a capable brewmaster, describe your goal, prepare and validate data, approve a hardware-aware recipe, and let Brewery manage training, testing, export, and publishing. Start with a small SFT project, then explore chained CPT, SFT, and DPO regimes or image LoRAs as your needs grow.