
What REA Does
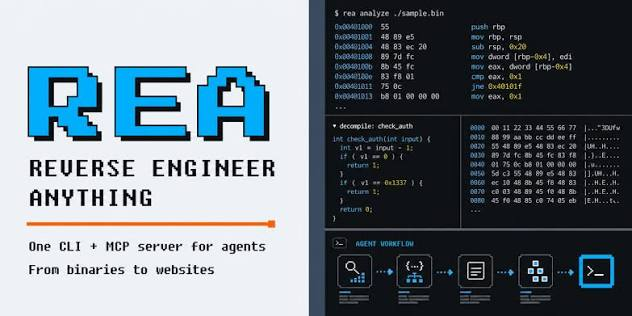
REA, or Reverse Engineer Anything, is an agent-oriented reverse-engineering desk for Windows 10 and 11 x64. It provides one MCP workflow across binaries, JavaScript, Electron applications, and .NET software.
The project performs local analysis of a built application and reports evidence, so you do not need access to the original source code. Its workflow can use Hopper, Ghidra, or IDA when one of those tools is already available, while the shipped CLI and agent setup provide the starting point for working with an analyzed target.
Key Features
- One MCP workflow: Work across binaries, JavaScript, Electron, and .NET targets.
- Local analysis with evidence: Inspect a built app and use the reported evidence to guide further investigation.
- CLI and agent setup: Configure the environment with the supplied command or the shipped CLI.
- Optional reverse-engineering backends: Point REA at Hopper, Ghidra, or IDA if you already use one.
- Saved notes: Analysis notes are stored in
files/notes/. - Recent updates: Version 6.3.0 adds streaming JSON input and output, Electron integrity checks, browser and WebMCP handling, fixes for Ghidra, Hopper, and IDA, and an agent-skill version pin.
Requirements
Before installing REA, prepare the following:
- A Windows 10 or Windows 11 x64 system.
- Node.js if you plan to use
npx. - Hopper, Ghidra, or IDA if you want to connect an existing reverse-engineering backend. These tools are optional.
Install and Set Up REA
1. Download the x64 package
Download the REA x64 ZIP archive and extract it on your Windows machine. Keep the extracted files together so the shipped command-line tools can access their supporting files.
2. Run the agent setup
With Node.js available, run the agent setup command from a terminal:
npx rea-agents@latest setupYou can also use the CLI shipped with the downloaded package. The README identifies both options as supported setup paths.
3. Configure an optional backend
If Hopper, Ghidra, or IDA is already installed, point REA to the relevant tool during your setup or configuration workflow. REA supports these backends for its reverse-engineering desk. Windows Ghidra host-path support is described as experimental, so consult the CLI guide when using that arrangement.
Basic Usage
Ask the agent to inspect a target
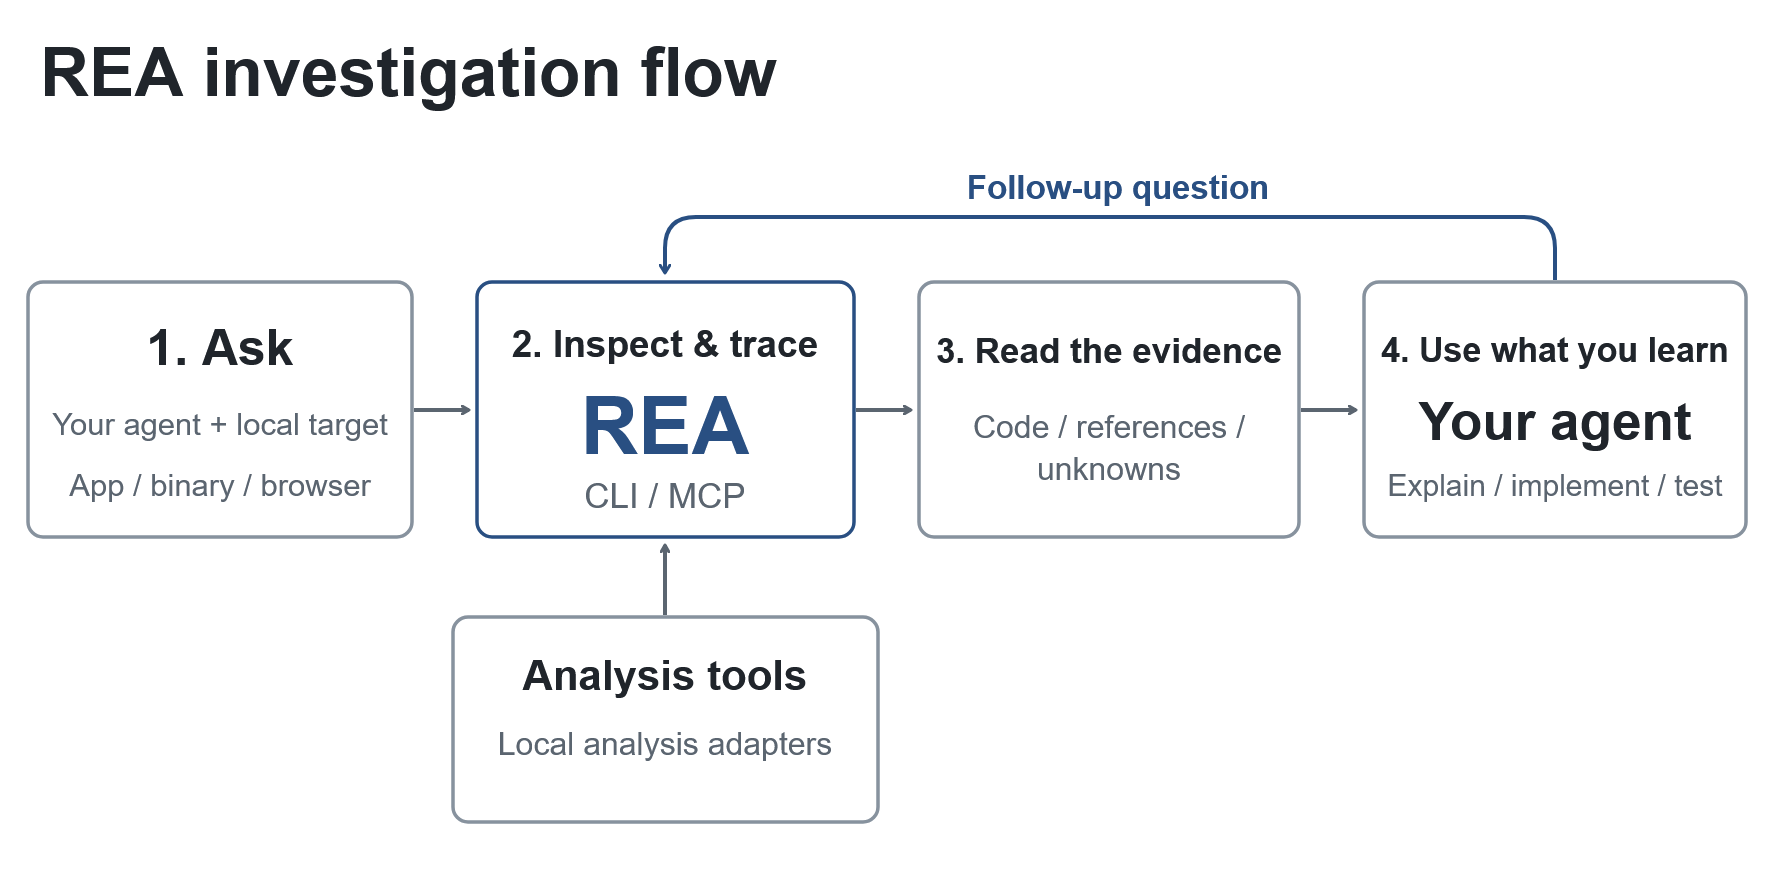
Once setup is complete, provide the agent with a binary or application to inspect. The README's basic workflow is intentionally direct: ask the agent to analyze the target, then review the evidence it reports.
- Choose the built binary or application you want to investigate.
- Make the target available to the REA workflow.
- Ask the agent to inspect the binary or app.
- Review the findings and supporting evidence.
- Check the resulting notes in
files/notes/.
Because REA works with the built application, source code is not required. This makes the workflow suitable for examining an application when only its packaged or compiled output is available.
Review saved notes
Use the notes directory as the record of your investigations:
files/notes/Read the generated notes after an analysis pass to preserve findings and evidence for later review. Keeping these records makes it easier to compare observations across targets or return to an earlier investigation.
Advanced Tips
Use the right backend for the target
REA brings multiple analysis areas into one MCP workflow, but its optional backends remain useful when you already rely on Hopper, Ghidra, or IDA. Point REA at the tool that matches your existing workflow rather than treating every target identically.
Separate application types in your investigation
REA covers binaries, JavaScript, Electron, and .NET. For Electron targets, the 6.3.0 release includes Electron integrity checks. The same release also adds browser and WebMCP handling, so these application types should be considered explicitly when planning an analysis.
Use streaming JSON integrations
Version 6.3.0 supports streaming JSON in and out. This is useful when an external agent or automation workflow needs to exchange analysis data incrementally, although the README does not specify additional command-line flags or a detailed message schema.
Keep the agent skill version controlled
The 6.3.0 release includes an agent-skill version pin. When reproducibility matters, keep the configured skill version aligned with the version used by your project instead of changing versions without recording the change.
Use evidence rather than assumptions
REA is designed to report evidence from local analysis. Treat the reported evidence and saved notes as the basis for conclusions, and record the context of each inspection in files/notes/.
FAQ
Do I need the application's source code?
No. REA inspects the built application and reports evidence.
Can I use Ghidra on Windows?
Windows Ghidra host-path support is experimental. Refer to the CLI guide for the relevant setup details.
Are Hopper, Ghidra, and IDA required?
No. They are optional backends. The requirements list includes them as optional, while the getting-started workflow also supports the shipped CLI and the npx rea-agents@latest setup command.
Conclusion
REA provides a focused Windows workflow for agent-assisted reverse engineering across compiled and packaged applications. Download and extract the x64 package, run the agent setup, connect an optional backend if needed, and ask the agent to inspect a target. Then use the evidence and notes in files/notes/ to organize your investigation.