

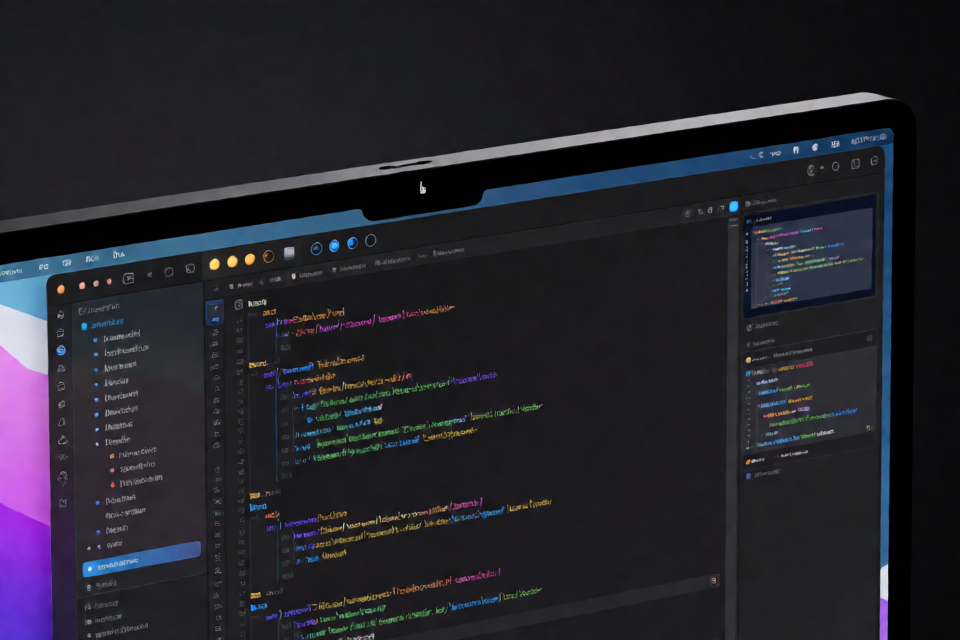
What is Codenotch?
Codenotch is a macOS app that pins a compact black notch to any screen edge. Its rings show how much of each supported coding assistant’s usage limit has been consumed, along with whether a session is active, finished, or waiting for input.
The notch remains a small pill while idle and expands when the pointer reaches it. Hovering over a provider ring reveals its limit windows and reset times. For Claude Code, the primary ring represents the same current session window shown first by Claude Code’s /usage command.
Codenotch also monitors session activity. A thin arc spins inside a provider ring while a session is busy. If the session needs your attention, the ring changes to a pulsing amber state. Hovering reveals live session names, where they are running, and what they need.
Supported providers and data sources
Codenotch does not maintain a separate account system or ask you to sign in. It reads credentials or sessions already held by supported tools on your Mac.
- Claude Code: Uses the OAuth token stored in the login keychain and queries the same endpoint used by Claude Code’s
/usagecommand. - Cursor: Reads the editor’s signed-in session from its local SQLite state.
- Codex: Asks the running Codex app server for current rate limits. If Codex is not running, Codenotch falls back to its rollout log.
- Antigravity: Tries the local language server first and then Google’s quota endpoint. When neither provides quota data for the account, it displays a plain request count.
- GLM: Calls Z.ai’s Coding Plan monitor endpoint using a key already held by Claude Code’s
settings.json, ZCode, or OpenCode.
Install and sign in to a supported tool normally. When Codenotch discovers its local session or credential, the corresponding ring appears. Disabling a provider in Settings stops Codenotch from reading that credential and removes stored readings without signing you out of the original tool.
Key features
- Usage rings for Claude Code, Cursor, Codex, Antigravity, and GLM.
- Reset-window details available by hovering over a ring.
- Live busy and waiting states for coding sessions.
- Automatic discovery of multiple Claude Code configurations.
- Placement on the top, bottom, left, or right screen edge.
- Layouts that adapt to the usable screen area, Dock position, and hardware notch.
- Optional Dock icon, menu bar icon, or neither.
- Daily background update checks through Sparkle.
- Visible
stale,needsAuth, anderrorstates instead of estimated percentages.
Build and run Codenotch
Prerequisites
The project is a macOS application generated with XcodeGen. Install XcodeGen once with Homebrew:
brew install xcodegenFrom a local checkout of the repository, generate the project, build it, and launch a Debug build:
make runNo signing identity is required for a Debug build.
Run the tests
Use the project’s test target to verify the provider adapters and other behavior:
make testThe provider response shapes are pinned by tests because the underlying internal endpoints, local databases, and RPC interfaces may change without notice.
Use demo data
If you want to inspect the interface without reading live provider data, launch the app with CODENOTCH_DEMO=1:
CODENOTCH_DEMO=1 make runDemo mode supplies fixed sample data and is useful for interface development, layout checks, and screenshots.
make releaseis not part of normal local setup. It requires a Developer ID certificate and an App Store Connect notary profile and is used by the maintainer to archive, notarize, and produce the signed auto-update feed.
Basic usage
1. Sign in through the provider’s own tool
Open the coding tool you want to monitor and sign in there. Codenotch never performs the sign-in itself. For example, authenticate through Claude Code or Cursor as usual, then launch Codenotch.
2. Check the provider rings
Each discovered provider appears as a ring in the notch. Use the ring to understand how much of the available limit has been consumed. Hover over it to inspect available limit windows and their reset times.
3. Watch session status
While a supported session is working, look for the thin spinning arc within its ring. A pulsing amber ring means that a session is blocked and waiting for you. Hover to see the session’s name, location, and requested action.
4. Configure the notch
Open Settings through the orb beneath the notch. It appears as an arc at rest and becomes a gear when hovered. Settings can control whether the notch unfolds on hover, remains visible, or is hidden entirely.
You can also choose whether Codenotch displays a Dock icon, a menu bar icon, or neither.
5. Choose a screen edge
Place the notch on any of the four edges:
- Left or right: Provider readings appear in a vertical column.
- Top or bottom: Provider readings appear side by side.
Codenotch follows the usable edge of the screen. A bottom placement rests above the Dock and responds when the Dock hides or moves. On a Mac with a hardware notch, top placement uses its exact shape so that the physical and software notches appear as one element.
Monitor multiple Claude Code accounts
Codenotch can display separate rings for separate Claude Code configuration directories. For example, launch a work account with:
CLAUDE_CONFIG_DIR=~/.claude-work claudeAfter Claude Code has used that directory, Codenotch discovers it and displays a Claude (work) ring beside the personal account. The work account receives its own limits, sessions, and Settings row.
At launch, Codenotch searches for directories matching ~/.claude-<slug> that Claude Code has used. The default ~/.claude account is always placed first, and additional configurations are ordered alphabetically so their rings do not unexpectedly change position.
Refresh behavior and rate limits
Codenotch adjusts polling to reduce unnecessary requests. When no monitored session is running, polling slows to every five minutes. To request a fresh reading manually, right-click the notch and select Refresh now.
Claude’s endpoint can return HTTP 429 when queried too frequently. Codenotch applies an increasing delay that begins at 60 seconds, doubles after consecutive rate-limit responses, and is capped at 15 minutes. The deadline persists across launches, preventing a restart from immediately consuming another attempt.
Updates and security
Codenotch uses Sparkle to check for updates daily and install them in the background. Automatic updates can be disabled in Settings. Official updates are EdDSA-signed so the app does not install a build that was not produced and signed by the maintainer.
For keychain-backed providers, the official app uses a stable Developer ID identity so a one-time Always Allow grant can survive rebuilds. Codenotch checks a keychain item’s modification date before reading the secret again, reducing repeated access prompts during routine polling.
Advanced development notes
Provider architecture
Each integration implements UsageProvider under Sources/Providers/. A provider also declares a Fidelity value of .official, .derived, or .manual. This prevents the interface from presenting an inferred value as if it were published directly by a vendor.
UsageStore, located under Sources/Model/, polls providers on a timer and retains the last successful reading across launches. When a provider fails, the store exposes a visible status such as stale, needsAuth, or error instead of manufacturing a percentage.
Screen-edge layout
The notch layout operates in one-dimensional stack space using along and across coordinates. NotchPlacement maps those values to actual screen coordinates for the selected edge. NotchLayout centralizes the measurements used to compare the implementation with the design frame.
Inspect diagnostic logs
Because Codenotch has no conventional app window, diagnostic information is written to the macOS unified log. Stream debug messages with:
/usr/bin/log stream --predicate 'subsystem == "com.vinz.codenotch"' --level debugThis is the primary troubleshooting tool when a provider cannot authenticate, returns stale data, or encounters a changed response format.
Understand the limitations
No supported vendor publishes a simple, stable API that universally reports a coding session as a precise percentage used. Codenotch therefore reads the same internal or local sources used by the owning applications, including endpoints, databases, language servers, and logs.
Those interfaces can change without notice. Codenotch addresses that risk with adapter tests and explicit failure states, but a provider integration may still temporarily stop working after its upstream application changes.
Conclusion
Codenotch brings coding assistant usage, reset windows, and active-session state into a small macOS screen-edge display. Start with make run, use demo mode to explore the interface safely, and then let the app discover accounts already configured in supported tools. For development and contribution details, consult CONTRIBUTING.md. The project is available under the MIT License.