

What Is AI Agent Gateway?
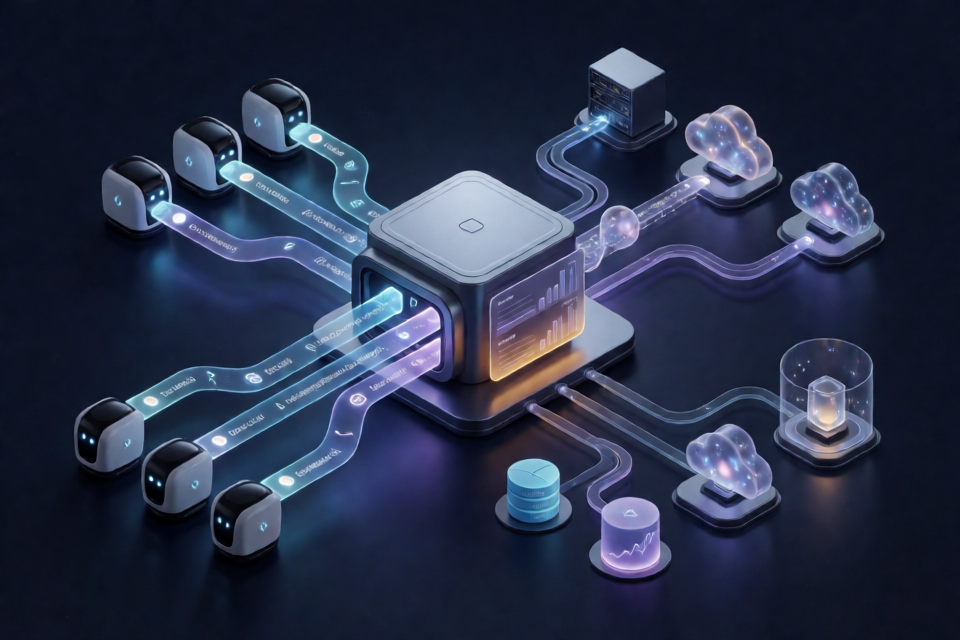
AI Agent Gateway is an open-source service that sits between AI agents and the systems they call. It provides one authenticated and observable entry point for MCP tool servers and supported LLM providers, including Anthropic Claude, AWS Bedrock, OpenAI, and Gemini.
Instead of copying tool credentials and provider settings into every agent, you can manage authentication, secrets, access policies, and request logs centrally. The gateway is distributed as one binary and includes an embedded administrative console.
The service exposes three listeners:
- MCP plane on port 8080: Receives MCP requests from agents and forwards permitted operations to registered tool servers.
- Control plane on port 8081: Hosts the REST API and administrative console.
- LLM plane on port 8082: Proxies supported LLM requests and records usage information.
PostgreSQL is required. A Redis-compatible session store is optional and allows the MCP plane to run with more than one replica; bundled deployments use Valkey. ClickHouse is optional and powers additional analytics features.
Key Features
- Authentication for every request: Gateway-issued API keys are scoped to a tenant and role.
- Protected connector credentials: Credentials are stored in an encrypted secret store and injected into outbound MCP requests without being exposed to the caller.
- Agent-specific tool policies: Profiles can limit which tools an agent may use. Restrictions are enforced during
tools/call, not only when tools are listed. - Prompts and resources: The gateway passes backend prompts and resources through a shared namespace and applies the same profile policies.
- Skills and commands: Profiles can include reusable reference text and prompt templates exposed through native MCP mechanisms.
- Multi-provider LLM proxy: The LLM plane supports Anthropic, Bedrock, OpenAI, and Gemini while capturing token usage and estimated cost.
- Centralized observability: The console provides access logs, LLM logs, session timelines, and an analytics dashboard when the necessary storage is enabled.
- Outbound request protection: Internal, loopback, link-local, and other private destinations are blocked by default to reduce server-side request forgery risks.
Prerequisites
The fastest setup uses Docker Compose. Before starting, install or verify the following:
- Docker with the Compose plugin, such as Docker Desktop, Colima, or Docker Engine.
curlfor health checks andjqfor processing API responses.- Free local ports
8080,8081, and8082. - Port
8090if you enable the analytics profile and its Adminer service. - At least 4 GB of free Docker capacity, or 8 GB when adding ClickHouse analytics.
macOS and Linux are supported. Windows can be used through WSL2, although that environment is currently untested.
To build outside Docker, the repository requires Go 1.27, Node.js 26 for the console, and make. Some worked examples additionally require npx, Python, kind, kubectl, or a provider API key.
Install and Start the Gateway
1. Clone the repository
git clone https://github.com/Tuskira/ai-agent-gateway.git
cd ai-agent-gateway
2. Launch the standard Compose stack
docker compose -f deploy/docker-compose.yml up --build -dThe first startup can take some time because Docker must build or download the required components and initialize the database.
3. Wait for the control plane
until curl -sf localhost:8081/api/v1/health >/dev/null; do sleep 1; doneThis loop waits until the control-plane health endpoint returns successfully.
4. Check all three planes
curl localhost:8080/health
curl localhost:8081/api/v1/health
curl localhost:8082/health
Successful responses confirm that the MCP, control, and LLM listeners are available.
Initialize Administrative Access
A new deployment has no console users and no API key. Begin by creating the default tenant and an administrator API key:
docker compose -f deploy/docker-compose.yml exec gateway /gateway bootstrap-keyThe command prints the API key only once. Save it securely because the getting-started workflow uses it to register connectors and perform administrative API operations.
Next, create the first console user:
docker compose -f deploy/docker-compose.yml exec gateway /gateway create-user -tenant default -username admin -role adminThis command prints a one-time temporary password. Open http://localhost:8081, sign in as admin, and change the temporary password when prompted.
Programs should normally authenticate with API keys. The console can also accept an API key as an emergency fallback.
Basic Usage: Add and Call an MCP Server
In gateway terminology, an MCP tool server is a connector in the API and an MCP in the console. After signing in, open MCPs → Catalog to see ready-made MCP servers that can be added.
The normal first-use workflow is:
- Create and save the administrator API key.
- Register an MCP server as a connector.
- Configure any credential the connector needs.
- Create or select an agent profile.
- Make the connector's tools available to that profile.
- Call a permitted tool through the gateway's MCP listener on port
8080. - Inspect the call in the administrative console.
The repository contains a complete executable walkthrough under examples/01-quickstart. It starts the stack, verifies all three planes, bootstraps an administrator key, registers a sample MCP server, and calls one of its tools. Follow the getting-started guide for the exact connector registration and tool-call requests.
To run all examples that do not require external credentials, use:
make examples-smokeHow Agent Profiles Enforce Access
Profiles define the tools, prompts, resources, skills, and commands available to an agent. Tool restrictions are checked when an agent invokes tools/call, so hiding a tool from tools/list is not the only line of enforcement.
For stronger policy enforcement, bind an API key to a profile. Without a binding, the caller can identify its desired profile through the X-Agent-Profile-Name header. A key-to-profile binding prevents the caller from freely selecting another profile.
When several MCP servers expose prompts or resources, the gateway keeps them in a common namespace. Prompts are qualified with their connector name, while resources use gateway-managed URIs. The same profile rules determine which entries an agent can access.
Use the LLM Proxy
The LLM plane provides a centralized route to supported model providers: Anthropic, AWS Bedrock, OpenAI, and Gemini. This allows agent applications to send model traffic through the same controlled surface used for tools.
For each proxied call, the gateway can capture token usage and estimate cost. Provider setup, bring-your-own-key configuration, Bedrock credential modes, routes, capture settings, and cost behavior are documented in the LLM plane guide.
Use the health endpoint to verify the listener before configuring a client:
curl localhost:8082/healthEnable Analytics
The standard deployment supports LLM logs without ClickHouse. To add the Overview dashboard, Access Logs, Session Timeline, and ClickHouse-backed analytics, start Compose with the analytics profile:
GATEWAY_SINKS_CLICKHOUSE_ENABLED=true docker compose -f deploy/docker-compose.yml --profile analytics up --build -dThis configuration requires more local resources and may use port 8090.
Protect Sensitive Request Bodies
The demonstration stack stores LLM request and response bodies in PostgreSQL, capped at 1 MiB each. With the analytics profile, it also stores LLM and MCP request and response bodies in ClickHouse so they can be displayed in the console. These bodies are not printed to container logs.
If prompts, model responses, or tool payloads may contain sensitive information, disable body storage entirely:
GATEWAY_LLM_PROXY_CAPTURE_STORE_BODIES=false GATEWAY_CAPTURE_STORE_BODIES=false docker compose -f deploy/docker-compose.yml up --build -dReview the observability documentation before using capture features with production data.
Connect to Local or Private MCP Servers Safely
The gateway blocks loopback, private, link-local, and other internal destinations by default. It also permanently blocks the cloud metadata address 169.254.169.254. This policy prevents a connector, catalog entry, or model target from silently reaching sensitive services on the host or network.
If a hostname resolves only to blocked addresses when it is created, the gateway rejects it with 400 egress_blocked. A hostname that does not resolve yet may be accepted, but it is checked again when the gateway attempts to connect.
Running the binary directly
When running with make run, explicitly allow loopback if an MCP server is running on the same machine:
GATEWAY_EGRESS_ALLOWED_CIDRS=127.0.0.0/8,::1/128 make runUsing the supplied Compose stack
The included Compose configuration already allows host.docker.internal and loopback CIDRs. A server running on your laptop can therefore be addressed through host.docker.internal. Remove these allowances in shared environments unless they are required.
Using Kubernetes or private networks
For an in-cluster Kubernetes service, allow only the DNS name being called, for example:
GATEWAY_EGRESS_ALLOWED_HOSTS=my-mcp-server.my-ns.svcYou can alternatively allow the relevant pod or service CIDR. For VPN-only or private-network servers, add the specific hostname or narrow CIDR instead of enabling every private address range.
Keep outbound allowlists as narrow as possible. Do not disable the protection merely to make initial testing easier.
Advanced Operational Tips
- Separate human and program access: Use console accounts for administrators and gateway-issued API keys for agents and automation.
- Bind keys to profiles: A profile-bound key gives stronger guarantees than letting callers choose a profile with a request header.
- Keep credentials in the gateway: Configure connector credentials centrally so agents do not receive the underlying secrets.
- Rotate connector credentials: Use the connector and credential management features rather than updating every agent independently.
- Control data capture: Decide whether request and response bodies should be retained before processing confidential prompts or tool results.
- Plan for multiple replicas: Configure the optional Redis-protocol session store when scaling the MCP plane beyond one replica.
- Use narrow egress rules: Allow individual hosts or CIDRs instead of broad private ranges.
- Consult the worked examples: Individual examples cover additional scenarios and list any required tools or vendor keys in their own README files.
- Expect changes: The project is pre-1.0 alpha software, so APIs and configuration may change between minor versions.
Building Outside Docker
For local development, install Go 1.27, Node.js 26, and make. The repository exposes make build and make run workflows. Optional development and release tools include golangci-lint, govulncheck, and goreleaser.
For development conventions, test commands, pull request guidance, and extension points for stores, sinks, and providers, see the contributing guide.
Conclusion
AI Agent Gateway centralizes access to MCP tools and multiple LLM providers behind authenticated endpoints. Its profile enforcement, credential injection, outbound network controls, and observability features help keep policy and secrets out of individual agent configurations.
Start with the Docker Compose quickstart, save the generated administrator key, create a console user, and complete the first connector workflow. From there, add profile-bound API keys, configure provider access, choose an appropriate body-capture policy, and enable ClickHouse analytics only when the additional visibility is needed.