

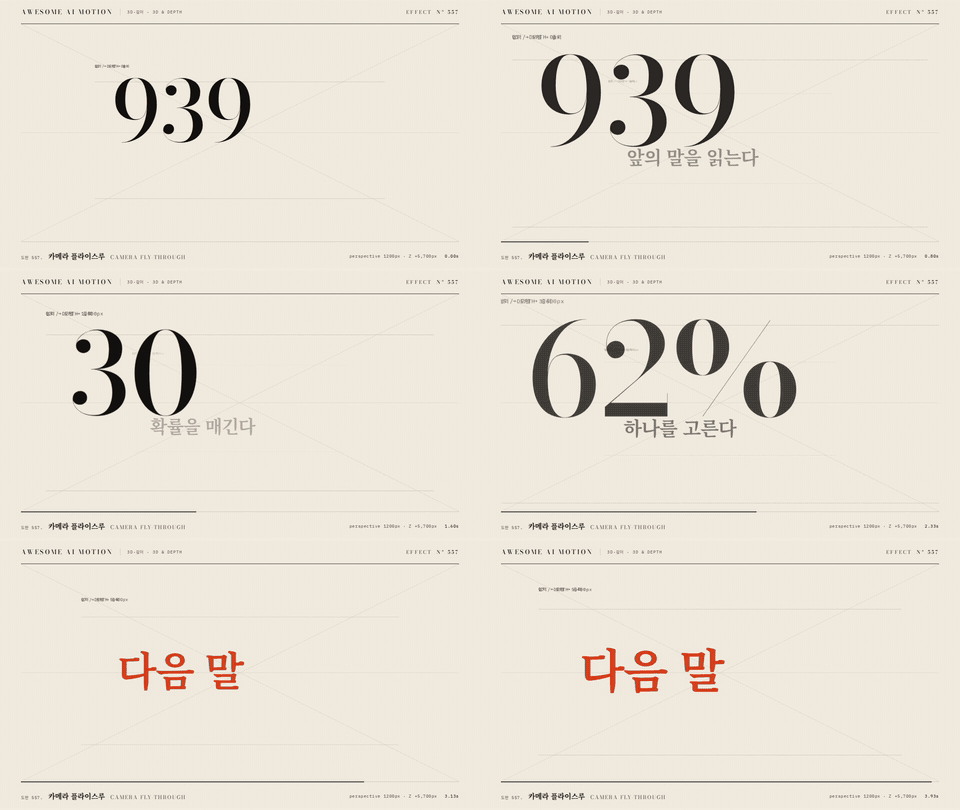
What is Awesome AI Motion?
Awesome AI Motion is a motion-design field guide built for both people and AI coding agents. Instead of choosing animation only by appearance, you can start with what a scene needs to communicate and then select a suitable effect, recipe, or design route.
The repository catalogs 637 techniques, 128 reference clips, 11 recipes, and 7 design routes. Each effect card can include a definition, tuned parameters, examples, source references, and prompts for Claude Code and Codex.
The guide is useful when you need to design product reveals, title sequences, educational openings, short-form video hooks, data stories, UI demonstrations, or other motion-driven scenes.
Key features
- AI-readable effect cards: Agents can inspect a card before adapting its motion.
- Rendered references: Rendered effects can include an HTML stage, MP4 clip, animated GIF preview, and poster image.
- Purpose-based discovery: Decision tables help you choose motion according to a scene's goal or medium.
- Combined recipes: Recipes show how multiple effects work together in a timed scene.
- Design routes: Route documents help plan larger deliverables such as promos, shorts, and decks. The route documents are written in Korean.
- Browser comparison: The project website supports filtering, slow playback, and comparison of up to four clips.
- Local rendering: A supplied rendering script can create customized copies without changing the reference effect.
- Structured metadata: The canonical
index.jsonfile makes the catalog directly queryable.
Examples of available motion
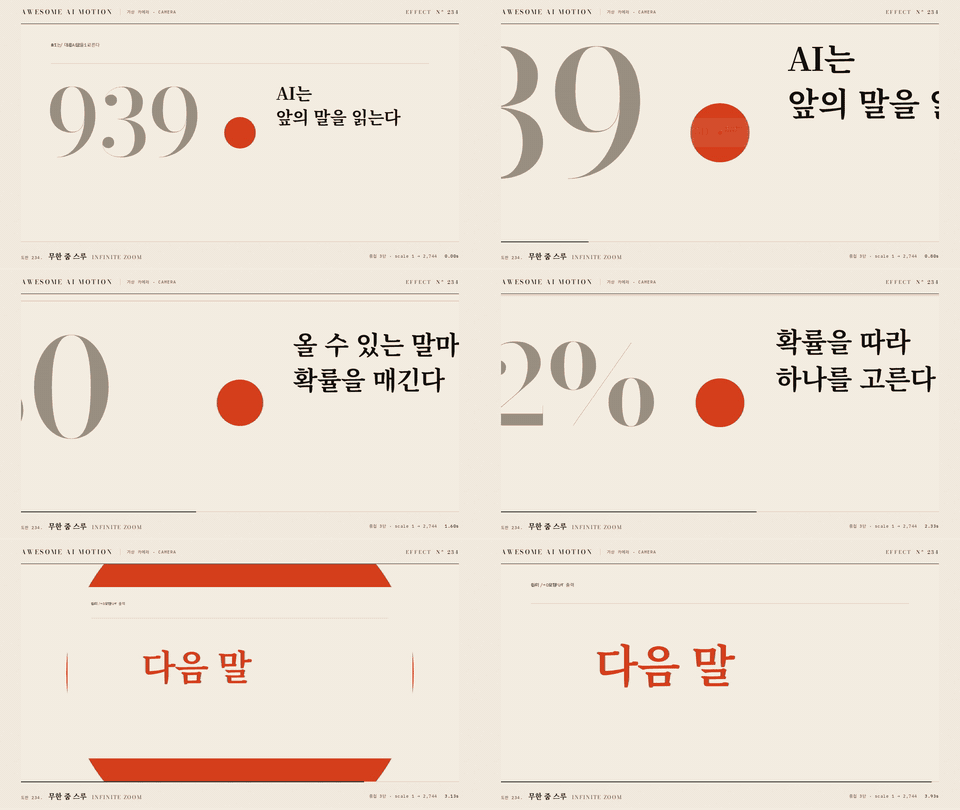
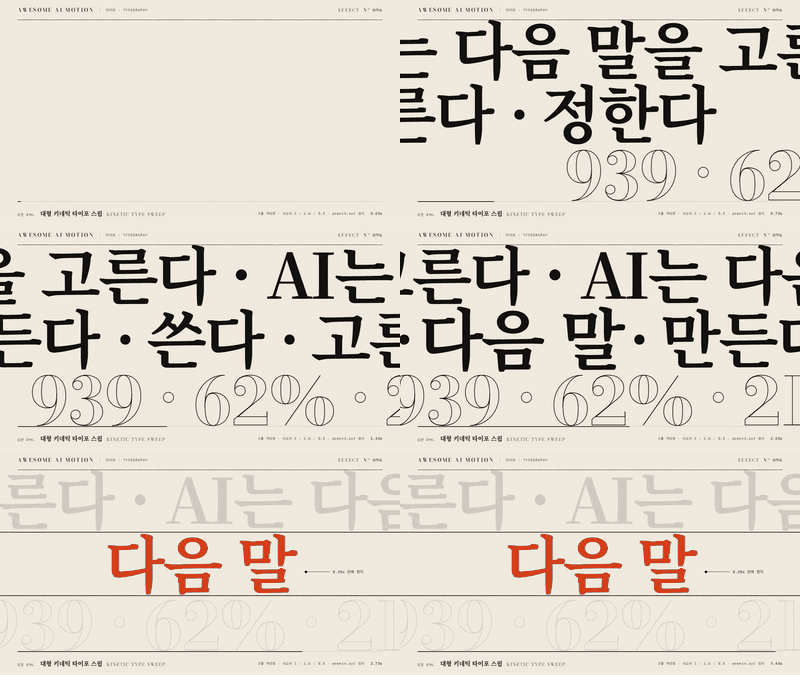
The collection ranges from camera movement and typography to transitions, reveals, parallax, light effects, and shape transformations. Highlighted examples include Infinite Canvas Pan, Camera Fly-through, Infinite Zoom, Kinetic Type Sweep, Giant Mask Reveal, Morph Match Cut, Noise Dissolve, Ken Burns, and Particle Scatter & Assemble.
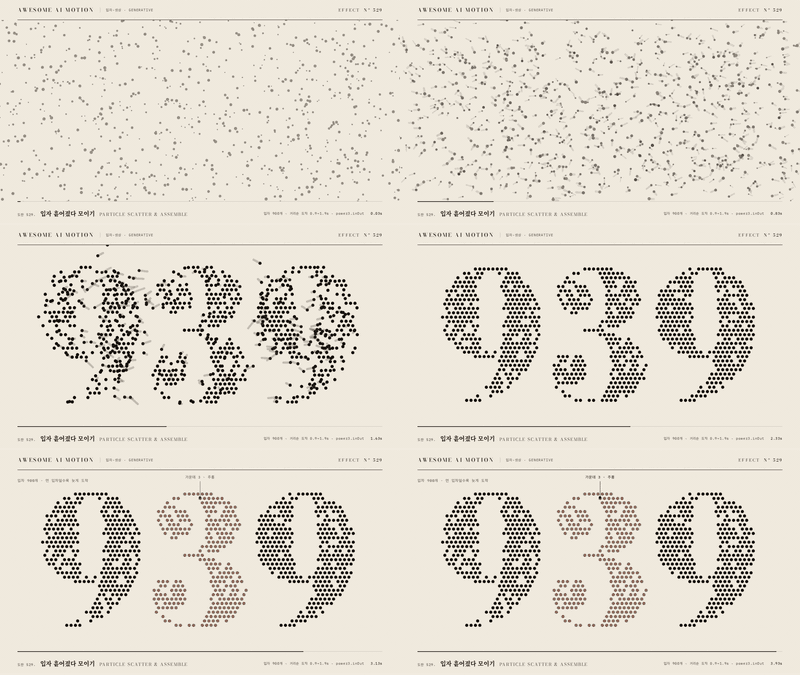
Particle Scatter & Assemble is one of the repository's rendered reference effects.
Choose the right starting point
The repository provides several entry points. Pick one according to the task you are trying to complete:
- Website: browse, play, filter, slow down, and compare clips visually.
- Documentation contents: navigate the guide without opening every effect card.
- Full catalog: review techniques grouped by motion family and check clip availability.
- Decision tables: choose an effect by purpose or medium.
- Recipes: combine effects into a complete timed scene.
- Design routes: plan a larger motion deliverable.
- Agent workflow: follow the purpose, card, adaptation, rendering, and verification process.
Installation and setup
Step 1: Clone the guide
Clone the repository and enter its directory:
git clone https://github.com/gongnyang/awesome-ai-motion.git
cd awesome-ai-motion
You do not need to install dependencies merely to browse the website, read effect cards, or connect the guide as an agent skill.
Step 2: Prepare optional rendering dependencies
Local rendering requires Node.js 20 or later, ffmpeg on your system path, and Playwright with Chromium. Run the following commands only when those dependencies are missing:
npm install
npx playwright install chromium
ffmpeg -version
The package installation is optional if Playwright is already available globally. You can also skip the Chromium installation command when a suitable Chromium installation is already present.
Step 3: Connect the guide to Claude Code
Create the Claude Code skills directory and link the repository into it:
mkdir -p ~/.claude/skills
ln -s "$PWD" ~/.claude/skills/awesome-ai-motion
A symbolic link is convenient because the skill uses the current checkout. If links are unsuitable for your environment, copy the directory instead:
mkdir -p ~/.claude/skills
cp -R "$PWD" ~/.claude/skills/awesome-ai-motion
Choose only one method and make sure the destination path is unused. For Codex, place the same link or copy under ~/.codex/skills/.
A copied skill does not automatically receive later repository changes. Update or replace the copy when the guide changes.
Basic usage
Ask an agent to select an effect
Describe the communication goal of your scene, then tell the agent to consult the relevant effect card and preserve its tuned defaults. For example:
Choose motion for a product reveal. Read the effect card and use its default parameters.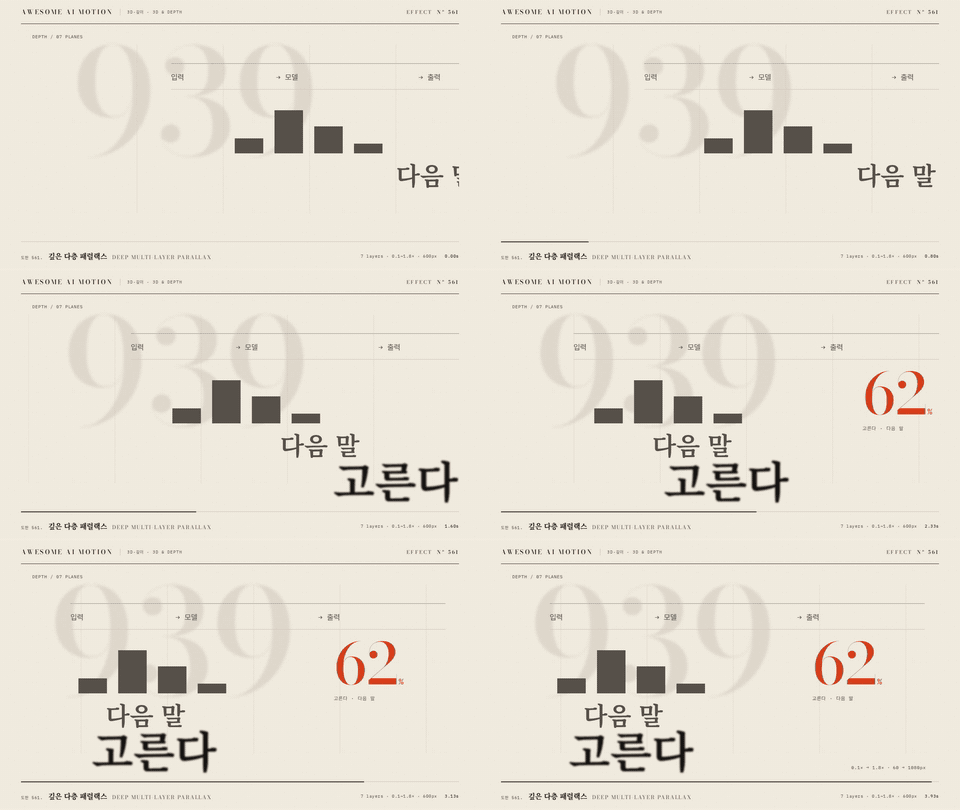
This request gives the agent a clear purpose, directs it to the documented implementation, and avoids guessing arbitrary animation values.
You can also frame requests around other goals without naming an effect in advance:
Choose motion for an educational opening hook. Review the guide and identify an appropriate effect or recipe before adapting it.The guide includes recipe examples such as Educational Opening Hook, Shorts Hook, Title Opener, Product UI Demo, Data Story, Concept Explainer, Before and After, and Scroll Deck Scene.
Read an effect card manually
Each card is located at:
effects/<slug>/README.mdFor example, the mask reveal card is under effects/mask-reveal/README.md. Read the card's definition, parameters, examples, prompts, and sources before modifying the effect. When an effect has rendered assets, its directory can also contain:
index.htmlfor the motion stageclip.mp4for the video outputpreview.giffor an animated previewposter.jpgfor a still image
Render your first customized clip
Run the supplied renderer against the mask reveal effect. This command changes the displayed text, creates an embeddable stage, and writes the result to a separate staging directory:
node scripts/render.mjs effects/mask-reveal \
  --embed --text "Make it move" --out .staging/my-first-motion
After rendering, inspect these generated files:
.staging/my-first-motion/clip.mp4.staging/my-first-motion/preview.gif.staging/my-first-motion/poster.jpg
Because the output goes to .staging/my-first-motion, the original effect remains intact and reusable.
A practical selection workflow
- Define the scene's purpose. Decide whether the motion must reveal a product, establish hierarchy, explain a concept, show transformation, or direct attention.
- Browse or query the catalog. Use the website for visual exploration, the decision tables for purpose-based selection, or
index.jsonfor structured metadata. - Open the effect card. Review the definition, tuned parameters, examples, prompts, and source references.
- Check a recipe when one effect is insufficient. Recipes demonstrate how effects can be arranged into a timed scene.
- Adapt a copy. Keep the reference implementation unchanged and send generated files to a separate output directory.
- Render and verify. Review the MP4, GIF, poster, and stage rather than assuming the output is correct from source code alone.
Advanced tips
Compare candidates before committing
Use the project website to compare up to four clips. Slow playback can make timing, easing, masking, and transitions easier to evaluate. This is especially helpful when several techniques satisfy the same communication goal but produce different levels of energy or emphasis.
Start with defaults, then adapt
The effect cards provide tuned parameters. Ask an agent to begin with those values before changing timing or presentation. This preserves the intended behavior and gives you a known baseline for evaluating later changes.

Keep generated output outside reference directories
Do not write customized renders into effects/ or recipes/. Use a location such as .staging/ so reference clips remain intact and repository changes are easier to inspect.
Use recipes for complete scenes
An individual effect demonstrates a motion technique, while a recipe combines techniques into a sequence. Start with a recipe when your deliverable needs an opening, transition, content section, and ending rather than one isolated animation.
Use structured data for automation
The root-level index.json is the canonical catalog. Tools and agents can inspect it directly instead of scraping card pages. The full catalog is better suited to human browsing because it groups techniques by motion family and reports clip status.
Maintain linked and copied skills differently
A symbolic link continues to point at your checkout, so pulling repository updates also updates what the agent reads. A copied skill is independent and must be refreshed manually after the source guide changes.
Validate catalog contributions
When adding effects, improving defaults, or updating reference clips, follow the repository's contribution guidance. Update the relevant source or generator rather than treating generated documentation as the source of truth. Then regenerate and check the project:
node scripts/build.mjs
node scripts/check.mjs
Contributions should keep motion legible, use the shared stage, and verify the rendered result.
Review licensing before redistribution
The project's original work is licensed under MIT. Source references and component licenses are recorded in ATTRIBUTIONS.md and individual effect cards. GSAP and bundled fonts retain their own licenses, so consult the attribution information before redistributing those assets.
Conclusion
Awesome AI Motion turns a large motion reference library into a practical workflow for humans and coding agents. Begin with the scene's purpose, select a documented effect or recipe, preserve the tuned defaults, render into a separate directory, and verify the resulting assets. This process helps you move from creative intent to a reusable motion clip without overwriting the guide's reference implementations.