

What Codex with ChatGPT Does
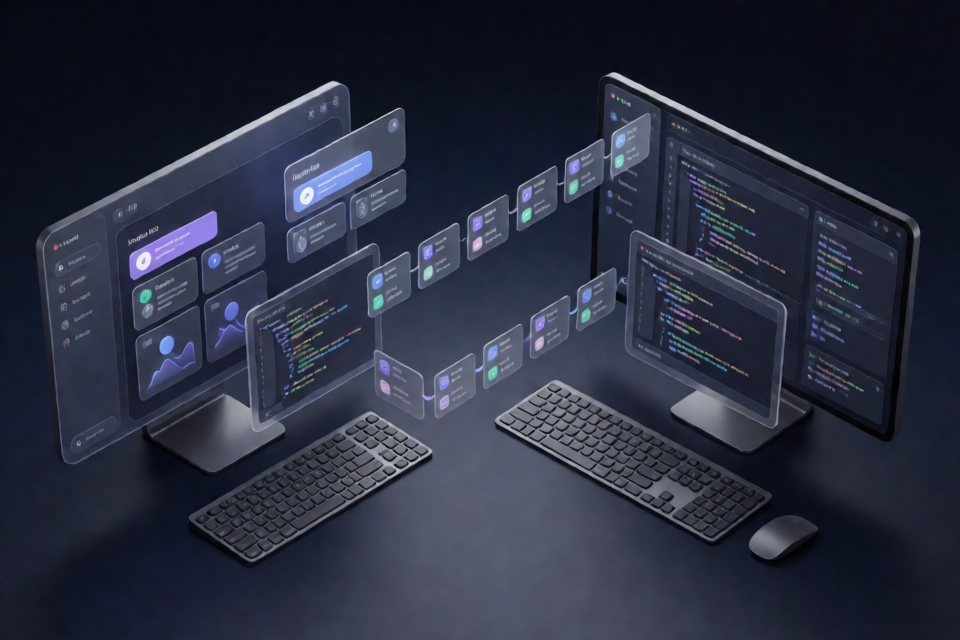
Codex with ChatGPT turns the ChatGPT web app into the planning and review layer for a Codex coding session. ChatGPT reasons about the task, creates a plan, and reviews the completed work. Codex remains responsible for editing files, running commands, testing changes, and fixing problems.
The goal is to use an existing ChatGPT Plus or Pro web subscription for planning and review instead of spending scarce API or Codex tokens on those stages. The project requires no API key and does not use a reverse proxy.
Your repository is not uploaded wholesale. ChatGPT requests only the workspace information it needs through an OAuth-protected, read-only Model Context Protocol bridge. The project is an unofficial community project and is not affiliated with or endorsed by OpenAI.
How the Workflow Operates
The system separates communication into a control plane and a data plane.
- Control plane: Codex and ChatGPT exchange small structured state messages through Computer Use. The workflow progresses through
INIT → PLAN → EXECUTED → REVIEW → DONE. File bodies, diffs, and logs are not pasted into these messages. - Data plane: ChatGPT reads necessary workspace data through the read-only MCP bridge.
- Execution: Codex owns shell commands, file changes, Git operations, tests, and fixes.
- Independent review: ChatGPT examines the actual Git diff and recorded test status instead of relying only on a claim that the work succeeded.
The bridge provides eight read-only tools:
workspace_infolist_directoryread_filesearch_workspacegit_statusgit_difftest_statusexecution_summary
Key Features
- Read-only workspace access: The bridge has no write, delete, shell, or commit tools.
- Workspace isolation: Each token is tied to one workspace. Canonical path checks block symlink, parent-directory, and absolute-path escapes.
- Sensitive-file protection: Files such as
.envvariants, credentials, SSH material, and keys are denied by default..env.exampleis allowed. - Custom exclusions: A
.c2cignorefile can add project-specific rules. - Protected public endpoint: The MCP endpoint uses OAuth 2.1 with PKCE S256, dynamic client registration, refresh-token rotation, and token revocation.
- One-time pairing: The browser receives only a one-time code with a five-minute lifetime, a five-attempt limit, rate limiting, and destruction after use.
- Automatic tunnel management: The project uses a Cloudflare Quick Tunnel for the public connection while keeping the local HTTP server loopback-only.
- Automatic Skill updates: The Codex Skill checks GitHub once per day and updates itself when a new release is available.
Prerequisites
The project requires the following software:
- Node.js 20 or newer
- Git
cloudflaredfor the public connection- A Codex environment capable of installing and running the included Skill
- Access to the ChatGPT web app
The automated setup can install missing dependencies with Homebrew on macOS or winget on Windows. You may need to take over briefly for a ChatGPT or Cloudflare login, CAPTCHA, or two-factor authentication prompt.
Option 1: Let Codex Install Everything
The simplest approach is to ask Codex to perform the complete setup. Give it instructions to check the environment, install missing dependencies, clone the repository, build the project, install the Skill, and run the first-time connection process.
The underlying build steps are:
git clone https://github.com/XiaoDuoYa/codex-with-chatgpt ~/codex-with-chatgpt
cd ~/codex-with-chatgpt
corepack pnpm install
corepack pnpm build
Codex should then copy skill/SKILL.md into the following location:
~/.codex/skills/codex-with-chatgpt/SKILL.mdIn the copied file, it must update the line beginning with The codex-with-chatgpt checkout lives at: so that it points to the actual repository checkout.
Finally, Codex runs c2c setup, opens the ChatGPT connector configuration in its built-in browser, and enters the generated pairing code. According to the documented workflow, a third-party browser should not be opened during this setup.
Option 2: Install the Skill Manually
If the repository is already downloaded and built, copy its skill/ directory to the Codex skills directory:
~/.codex/skills/codex-with-chatgpt/Then ask Codex:
Set up Codex with ChatGPT.
Codex handles the bridge, tunnel, pairing process, and connector configuration. A successful setup displays a checklist similar to this:
Codex with ChatGPT

✓ Project detected
✓ Workspace Bridge started
✓ Secure connection established
✓ ChatGPT connected
✓ File read test passed

Ready.
Confirm that the file-read test passes before starting real work. This verifies that ChatGPT can reach the current workspace through the read-only bridge.
Basic Usage
After setup, continue using Codex normally, but explicitly ask it to involve ChatGPT in the task.
Use Codex with ChatGPT to implement XXX.
Replace XXX with a concrete coding request. For example:
Use Codex with ChatGPT to implement input validation for the registration form and run the relevant tests.
The expected workflow is:
- Codex detects the active project and starts the workspace bridge.
- ChatGPT examines relevant files through the read-only MCP tools.
- ChatGPT produces a plan.
- Codex implements the plan, edits files, and runs commands or tests.
- ChatGPT reads the actual Git diff and test records.
- ChatGPT reviews the result and identifies any necessary follow-up work.
- Codex applies fixes until the workflow reaches
DONE.
Because ChatGPT cannot write through the bridge, every repository modification remains under Codex’s execution control.
Developer Installation and Commands
Developers who want to build or inspect the project directly can use pnpm:
pnpm install
pnpm build
pnpm test
The build creates dist/ and exposes the c2c command-line executable. The test suite uses Vitest and, at the documented project status, includes 76 tests covering path security, OAuth, pairing, and MCP end-to-end behavior.
Run the complete bridge, tunnel, and pairing setup with:
c2c setupOther management commands include:
c2c status
c2c doctor
c2c pair
c2c unpair
c2c logs
c2c stop
c2c statuschecks the current service state.c2c doctoris the primary diagnostic command.c2c pairandc2c unpairmanage the ChatGPT pairing.c2c logsexposes diagnostic logs.c2c stopstops the running service.
Understanding the Project Layout
The repository separates its security, transport, workspace, and user-experience components:
src/bridge/contains the loopback HTTP server, port recovery, and admin API.src/mcp/implements the eight read-only tools over stateless Streamable HTTP.src/auth/contains OAuth 2.1, PKCE, dynamic client registration, refresh rotation, and revocation.src/pairing/implements cryptographically secure one-time pairing codes, expiration, and rate limits.src/workspace/handles path containment, sensitive-file policy, search, and Git access.src/tunnel/provides the tunnel abstraction and Cloudflare Quick Tunnel integration.src/execution/stores execution records used during review.src/process/manages the daemon lifecycle.src/cli/implements thec2cCLI.skill/contains the Codex Skill that provides the main user experience.tests/contains unit and integration tests.docs/contains architecture, protocol, security, and troubleshooting documentation.
Advanced Tips
Exclude Additional Files
The built-in policy blocks common secrets, but project-specific confidential files may use different names. Add matching rules to .c2cignore so the bridge will not expose those paths through its read-only tools.
Use the Review Loop for Verifiable Results
Ask for tests as part of the task so ChatGPT can inspect both the actual Git diff and test records. This takes advantage of the independent review design rather than relying on a plain-text success statement from the execution agent.
Diagnose Before Reconfiguring
If the connection stops working, run c2c status and c2c doctor first. Use c2c logs for additional diagnostic information. Re-pair with c2c unpair followed by c2c pair only when pairing needs to be reset.
Keep the Skill Updated
The Skill checks GitHub once a day for new releases. You can also directly ask Codex to update Codex with ChatGPT whenever you want to trigger an update.
Review the Security Documentation
For a deeper explanation of trust boundaries and protections, consult the repository’s security documentation. The repository also includes dedicated documents for architecture, protocol details, and troubleshooting.
Security Boundaries to Remember
Read-only access reduces risk, but it still allows ChatGPT to receive permitted source code and workspace metadata on demand. Sensitive paths are denied by default, and custom exclusions can strengthen this boundary for a particular repository.
Possessing the public tunnel URL is not sufficient for access. Requests without a valid OAuth token receive an unauthorized response, while tokens used against the wrong workspace are rejected. The one-time browser pairing code is short-lived and is not a long-term credential.
Conclusion
Codex with ChatGPT creates a clear division of responsibilities: ChatGPT plans and reviews, while Codex executes. Its read-only MCP bridge, OAuth protection, workspace isolation, sensitive-file policy, and independent diff review are designed to make that collaboration controlled and verifiable. After the initial Skill installation and pairing flow, you can invoke the workflow with a normal Codex request and manage it through the c2c CLI.