

What is genspark-claw?
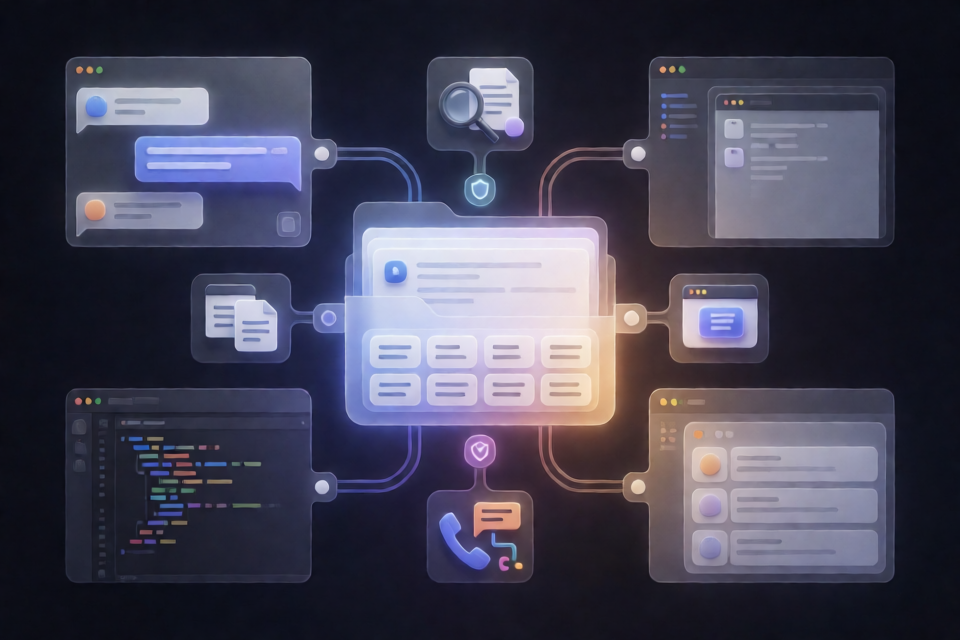
genspark-claw is a community-built skill pack and command-line interface for Genspark Claw, OpenClaw, Hermes, Claude Code, and Cursor. It provides five readable SKILL.md workflows that add practical capabilities to compatible AI agents without requiring runtime dependencies or a build step.
The project is independent and is not affiliated with Genspark, OpenClaw, or Nous Research. Because the skills are plain Markdown files with YAML frontmatter, you can inspect, validate, modify, and install them into supported runtimes.
Key features
- Five production-ready skills: deep research, report generation, slide planning, browser automation, and phone-call preparation.
- Cross-runtime compatibility: install the same skills into OpenClaw, Hermes, Claude Code, Cursor, or a local workspace.
- Zero runtime dependencies: the CLI uses the Node.js standard library and requires Node.js 18 or newer.
- Security validation: the validator checks skill structure and flags patterns such as piped remote execution, base64 payloads, and destructive commands.
- MCP support: expose the skill pack to MCP clients such as Claude Desktop, Cursor, and Windsurf.
- Testing and CI: the project includes automated tests and CI coverage for Node.js 18, 20, and 22 on Ubuntu, macOS, and Windows.
Understand the bundled skills
The package includes five skills, each stored in its own directory with a SKILL.md file.
super-research: decomposes a question, performs parallel searches, cross-verifies claims across independent sources, and produces a cited report.spark-report: turns research, notes, or conversations into a polished report with an executive summary, comparison tables, citations, and next steps.spark-slides: converts research or an idea into a narrative slide-deck outline with claim-shaped titles, speaker notes, and sources.claw-browser-anchor: makes browser automation more resilient by using DOM selectors and ARIA roles instead of fragile screen coordinates, with verification and drift recovery.call-prep: prepares an AI phone call by researching the callee, defining objectives and fallbacks, drafting a branching script, and structuring a post-call summary.
Install and check the CLI
Prerequisites
Install Node.js 18 or newer. The project recommends using the official Node.js download instructions. On macOS, install Apple's command-line tools first:
xcode-select --installLinux and Windows users can skip the macOS command-line-tools step. No Genspark subscription is required because the package can be used with self-hosted OpenClaw, Hermes, Claude Code, or Cursor.
Install from GitHub
Create a working directory, install the repository directly from GitHub, and run the health check:
mkdir -p 'gensparkclaw' && cd 'gensparkclaw'
npm install github:breakstageaxe61/genspark-claw
npx genspark-claw doctor
npx genspark-claw list
The doctor command checks your environment and runtimes. The list command displays the five bundled skills and their descriptions.
Install skills into an agent runtime
OpenClaw or Genspark Claw
Install every bundled skill into the default OpenClaw skills directory:
npx genspark-claw install all --target openclawThis copies the skills into ~/.openclaw/skills/. If you are using a self-hosted OpenClaw gateway, restart the gateway or begin a new session so the skills become available. In Genspark Claw, import the SKILL.md files through the skills panel, or copy them from node_modules/genspark-claw/skills/.
Hermes
Install all skills into Hermes with:
npx genspark-claw install all --target hermesThe default destination is ~/.hermes/skills/.
Claude Code and Cursor
Use the runtime-specific targets to install the files in their standard skill directories:
npx genspark-claw install all --target claude
npx genspark-claw install all --target cursor
These commands target ~/.claude/skills/ and ~/.cursor/skills/, respectively.
Install into a project workspace
For a project-local installation, install one skill or the complete pack into a custom directory:
npx genspark-claw install super-research
npx genspark-claw install all --dir ~/my-agent/skills
Use --dry-run when you want to see what the installer would do without writing files:
npx genspark-claw install all --target openclaw --dry-runUse the CLI commands
The CLI supports discovery, installation, validation, diagnostics, and MCP startup:
genspark-claw <command> [options]listlists all bundled skills.info <skill>shows details and the full instructions for a skill.install [skill]installs one skill or all skills.validate [path]validatesSKILL.mdfiles, defaulting to the bundled skills.doctorchecks the local environment and detected runtimes.runtimeslists detected agent runtimes.mcpstarts the MCP stdio server.versionprints the installed version.
For example, inspect a skill before installing it:
npx genspark-claw info super-researchReading the skill instructions first is a useful security and compatibility practice, especially when working with third-party agent skills.
Connect the MCP server
genspark-claw includes a zero-dependency Model Context Protocol server. It exposes three tools: list_skills, get_skill, and validate_skill.
Add the server to a Claude Desktop MCP configuration using an absolute path to the installed server:
{
  "mcpServers": {
    "genspark-claw": {
      "command": "node",
      "args": ["/absolute/path/to/gensparkclaw/node_modules/genspark-claw/mcp/mcp-server.js"]
    }
  }
}
Run the built-in self-test to verify initialization, tool discovery, and tool execution:
node node_modules/genspark-claw/mcp/mcp-server.js --testMCP self-test passed: initialize, tools/list, tools/call all OK.
Validate skills safely
Run validation against the bundled files before using them:
npx genspark-claw validateYou can also validate a custom directory:
npx genspark-claw validate ./my-skillsThe validator checks the expected skill schema and performs a security audit. It flags patterns including curl | bash, base64 payloads, and destructive commands. Validation reduces risk, but you should still read the complete SKILL.md and use your agent's own audit or doctor tools.
Create and contribute a custom skill
A custom skill is a directory containing a SKILL.md file. The frontmatter should define fields such as name, description, version, triggers, compatibility, and single-line metadata JSON. The document body should contain numbered instructions, rules, error handling, and an output format.
- Create a directory and file.
- Follow the skill anatomy described in the repository's contribution guide.
- Run
npm run validateto check the schema and security rules. - Run
npm testto execute the automated suite. - Open a pull request if you want to share the skill.
The repository also supports publishing a compatible skill to ClawHub with clawhub publish. The same plain-file format is intended to work with Hermes and agentskills.io-compatible tools.
Use the programmatic API
If you are integrating genspark-claw into another Node.js application, require the package and call its public API:
const gclaw = require('genspark-claw');

gclaw.listBundledSkills();
gclaw.findSkill('super-research');
gclaw.installSkills({ skill: 'all', target: 'hermes' });
gclaw.validateTarget('./my-skills/');
gclaw.runDoctor();
The methods return skill records, validation results, or environment-check data that you can use in your own tooling.
Develop locally
To work on the project itself, clone the repository and run its test and validation commands:
git clone https://github.com/breakstageaxe61/genspark-claw.git
cd genspark-claw
npm test
npm run validate
node examples/quickstart.js
node mcp/mcp-server.js --test
No npm install is needed for development because the project intentionally has zero dependencies. Important areas include the CLI entry point in bin/, the public API in src/index.js, the skills in skills/, the MCP server in mcp/, and tests in test/.
Conclusion
genspark-claw provides a straightforward way to add reusable, inspectable workflows to several AI agent environments. Install it from GitHub, use doctor and list to verify the setup, deploy skills with a runtime target, and use validate before introducing custom or third-party instructions. For integrations, the built-in MCP server and Node.js API make the same skill pack available through tools and applications.