

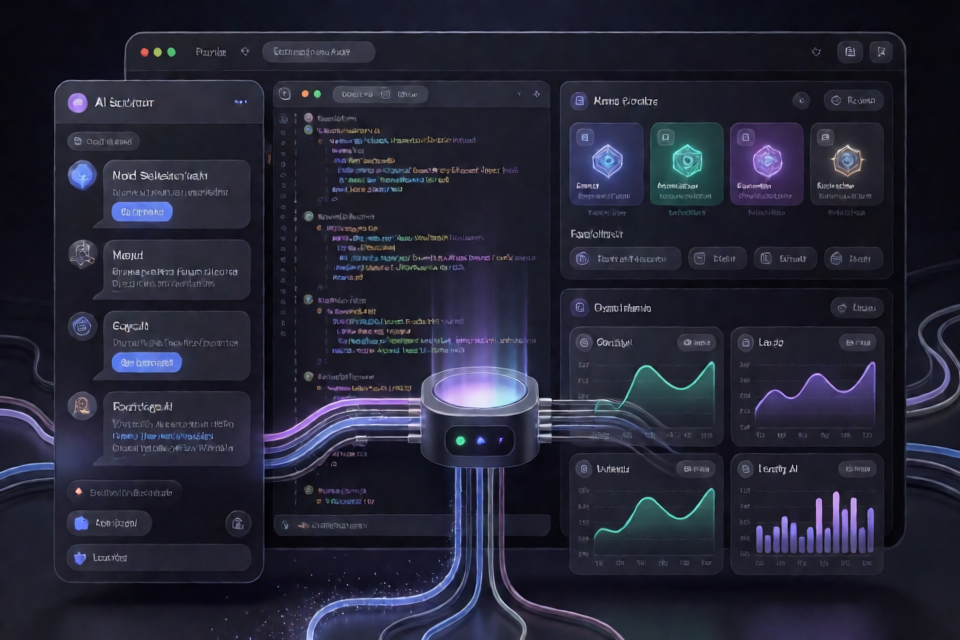
What Is 9Router Model Connector?
9Router Model Connector integrates Visual Studio Code and GitHub Copilot Chat with the 9Router AI gateway. Its main benefit is zero-reload model switching: after the initial configuration, you can activate a different AI model with one click without editing JSON files, restarting VS Code, or ending the current chat session.
The project supports models routed through more than 40 AI providers, including OpenAI, Anthropic, Google Gemini, DeepSeek, Groq, and OpenRouter. Examples mentioned by the project include Claude 3.5 Sonnet, GPT-4o, Gemini 1.5 Pro, DeepSeek V3 and R1, and Llama 3.
Key Features
- Zero-reload switching: Change the active model instantly while keeping VS Code and the current chat session open.
- Web dashboard: Browse and filter available providers, then activate a model visually.
- VS Code status bar integration: Select a model without leaving the editor.
- Model comparison and benchmarking: Test prompts side by side and compare response latency.
- Dynamic local proxy: Automatically injects the active model, applies authentication headers, and relays Server-Sent Events streaming responses.
- Broad provider compatibility: Connects to the providers available through the 9Router gateway.
How the Connection Works
The integration uses three local services or endpoints:
20128: the 9Router core gateway and load balancer.20129: the extension's local proxy, which injects the currently active model into requests.5500: the web dashboard used to select and compare models.
When you select a model from the dashboard or status bar, the proxy records it as the active model. GitHub Copilot Chat sends its next completion request to the local proxy using the fixed 9Router via Proxy entry. The proxy rewrites the request payload to include the active model, adds the required API key, and forwards the request to the 9Router core gateway.
9Router routes the request to the relevant AI provider. The response travels back through the gateway and proxy as an SSE token stream, allowing Copilot Chat to display the answer in real time.
You only need to select 9Router via Proxy once in Copilot Chat. Subsequent model changes happen at the proxy layer.
Installation
Option 1: Automated Setup on Windows
Open Command Prompt or a terminal in the project directory and run the setup script:
scripts\setup.batYou can alternatively use the npm setup command:
npm run setupOption 2: Automated Setup on Linux or macOS
Make the shell script executable and run it:
chmod +x scripts/setup.sh
./scripts/setup.sh
Option 3: Manual Installation
First, install the 9Router core gateway globally:
npm install -g 9routerClone the connector repository and enter its directory:
git clone https://github.com/yudaprasetya007/routeVSCODE.git
cd routeVSCODE
Install the packaged VS Code extension. The repository includes version 2.5.0 under the releases directory:
code --install-extension releases/routevscode.model-connector-2.5.0.vsix --forceStart the web dashboard:
npm startOnce running, open http://localhost:5500 in your browser.
Initial Configuration
1. Start the 9Router Gateway
Run 9Router in a dedicated terminal:
9routerOpen http://localhost:20128/dashboard and obtain your 9Router API key. Keep this terminal running while using the connector.
2. Start the Connector Dashboard
In the cloned repository, run:
npm startThe connector dashboard should become available at http://localhost:5500.
3. Configure the API Key and Base URL
- Open the VS Code Command Palette with
Ctrl+Shift+P. On macOS, useCmd+Shift+P. - Select
9Router: Set API Key & Base URL. - Enter
http://localhost:20128/v1as the base URL. - Paste the API key obtained from the 9Router dashboard.
4. Select the Proxy in Copilot Chat
- Open GitHub Copilot Chat with
Ctrl+Alt+I. - Open the model picker at the bottom of the chat interface.
- Select
9Router via Proxy.
This is the one-time Copilot model selection. Leave Copilot set to this proxy entry when switching among models through 9Router.
Basic Usage
Switch a Model from the Web Dashboard
- Confirm that both the
9routerprocess and the connector dashboard are running. - Open http://localhost:5500.
- Find the model you want to use and activate it.
- Send a new prompt in Copilot Chat.
The local proxy injects the newly selected model into the next request. VS Code does not need to be reloaded.
Switch a Model from the VS Code Status Bar
Click the 9Router model indicator in the lower-right status bar. Select a model from the list, then continue using Copilot Chat normally.
Switch Through the Command Palette
Open the Command Palette and run:
9Router: Pilih Model AIThis opens a quick-pick menu for selecting the active AI model.
Useful VS Code Commands
9Router: Pilih Model AI: Opens the quick model selector.9Router: Status & Info: Shows the connection state, proxy port, and active model.9Router: Set API Key & Base URL: Updates the 9Router endpoint and credentials.9Router: Sync Semua Model ke Copilot: Rewrites the 9Router entries inchatLanguageModels.json.9Router: Buka Dashboard Web: Opens the local dashboard in a browser.9Router: Tambah Model Manual: Registers a custom model ID manually.9Router: Hapus Semua Entry 9Router: Removes the 9Router proxy entries from the VS Code configuration.
Advanced Tips
Compare Models Before Choosing One
Use the dashboard's live model comparison and benchmarking functionality to submit prompts and compare responses side by side. Its latency measurements can help you choose between models when speed is important.
Add a Custom Model ID
If the model you need is not already listed, open the Command Palette and run 9Router: Tambah Model Manual. Enter the model ID expected by your configured 9Router provider. Availability still depends on the providers and models accessible through your 9Router gateway.
Verify the Active Connection
Before diagnosing Copilot itself, run 9Router: Status & Info. Check the active model, connection state, and local proxy port. This helps distinguish a proxy problem from a gateway or provider problem.
Keep the Proxy Selection Stable
Do not repeatedly choose individual upstream models from Copilot's model picker. Keep 9Router via Proxy selected and change the upstream model through the dashboard, status bar, or quick-pick command. This preserves the zero-reload workflow.
Run Services in Separate Terminals
Keep 9router running in one terminal and npm start in another. This makes service logs easier to inspect and prevents accidentally stopping the core gateway when restarting the dashboard.
Troubleshooting
Port 20129 Is Already in Use
The extension's dynamic proxy uses port 20129. Close obsolete VS Code instances or stop any other process occupying that port, then start the connector again.
The Proxy Model Does Not Appear
After installing the extension for the first time, open the Command Palette and run Developer: Reload Window. Then return to the Copilot Chat model picker and look for 9Router via Proxy.
9Router Does Not Respond
Confirm that 9router is still running in a separate terminal. Also verify that the base URL is http://localhost:20128/v1 and that the configured API key came from the local 9Router dashboard.
Reset or Resynchronize the Configuration
Use 9Router: Sync Semua Model ke Copilot when the model configuration needs to be regenerated. If you need a clean reset, run 9Router: Hapus Semua Entry 9Router and configure the connector again.
For additional diagnostics, consult the repository's troubleshooting documentation. The project also provides separate architecture and setup guides.
Conclusion
9Router Model Connector places a dynamic proxy between GitHub Copilot Chat and the 9Router gateway, making model selection independent of Copilot's fixed configuration. Once the API key, base URL, and 9Router via Proxy entry are configured, you can switch supported models from the dashboard or VS Code status bar without reloading the editor. The project is distributed under the MIT license.