

What Is SkyDot
SkyDot is an open-source, self-hosted multi-user Agent workspace built on Pi Agent Runtime. You can create multiple named and configurable Dots, assign them different responsibilities, or place multiple Dots in group chats. Scheduled tasks, Skills, MCP, Plugins, and Memory extend their long-term capabilities.
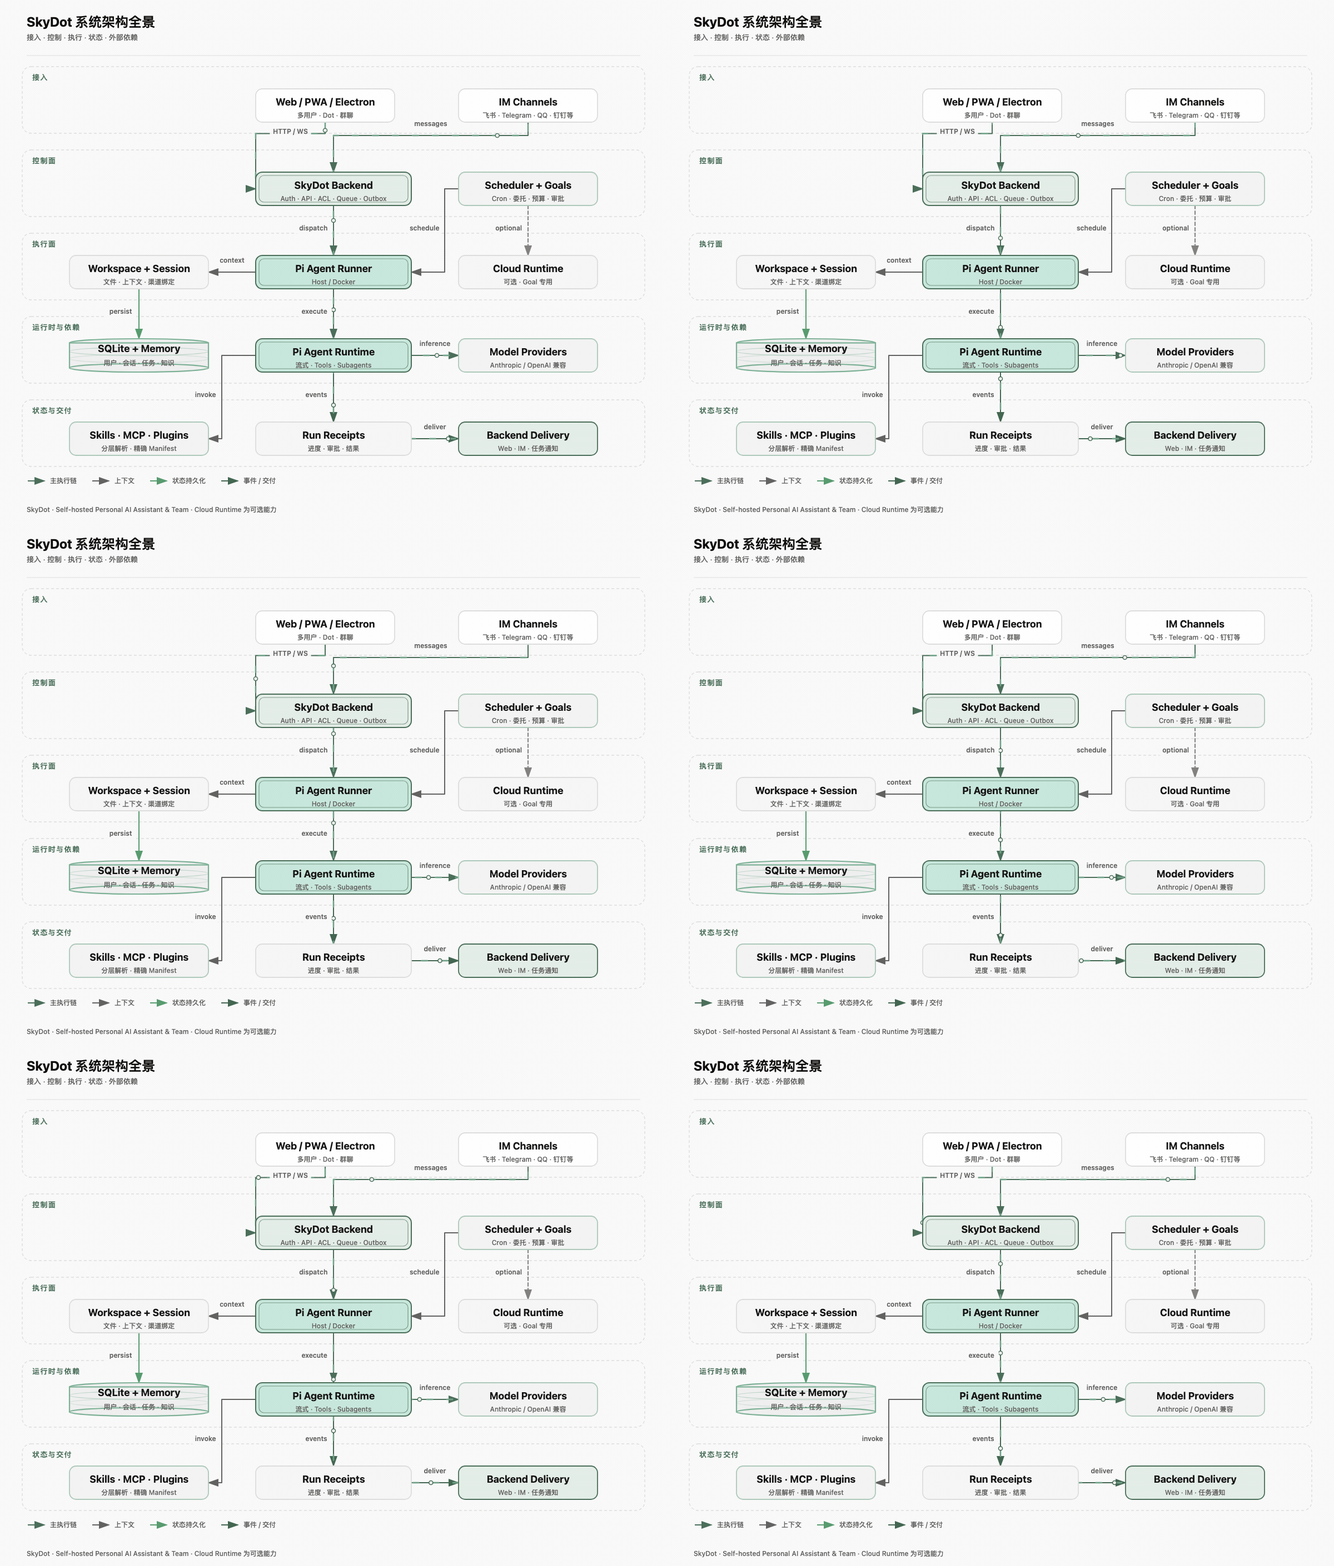
It is more than a chat page. Workspace defines boundaries for files, sessions, memory, and execution. Backend handles authentication, permissions, queues, scheduling, Providers, and messaging channels, while Host or Docker Runner performs the actual Agent execution. Tool authorization, device requests, and task progress that require user confirmation are also returned to the same workspace.
Core Architecture and Execution Boundaries
SkyDot separates the interface, control plane, and execution plane, making it suitable for personal use and team self-hosted deployments.
- Backend: Built with Node.js, TypeScript, Hono, SQLite, and WebSocket. It handles authentication, persistence, queues, scheduling, Providers, channels, and authorization.
- Runner: Uses Pi Agent Runtime to execute actual Agent tasks, with either local Host mode or a non-root Docker container.
- Workspace: Defines the boundaries for files, Sessions, Memory, channel bindings, and execution.
- Web, PWA, and Electron: Share the React application frontend. The Electron Renderer handles only the interface and does not directly access the database, file system, credentials, Docker, or shell/process permissions.
Permission granted at one layer does not automatically bypass the boundaries of other layers. Before deploying in a team environment, read the permission matrix and security policy.
Key Features
Personal Dots and Sessions
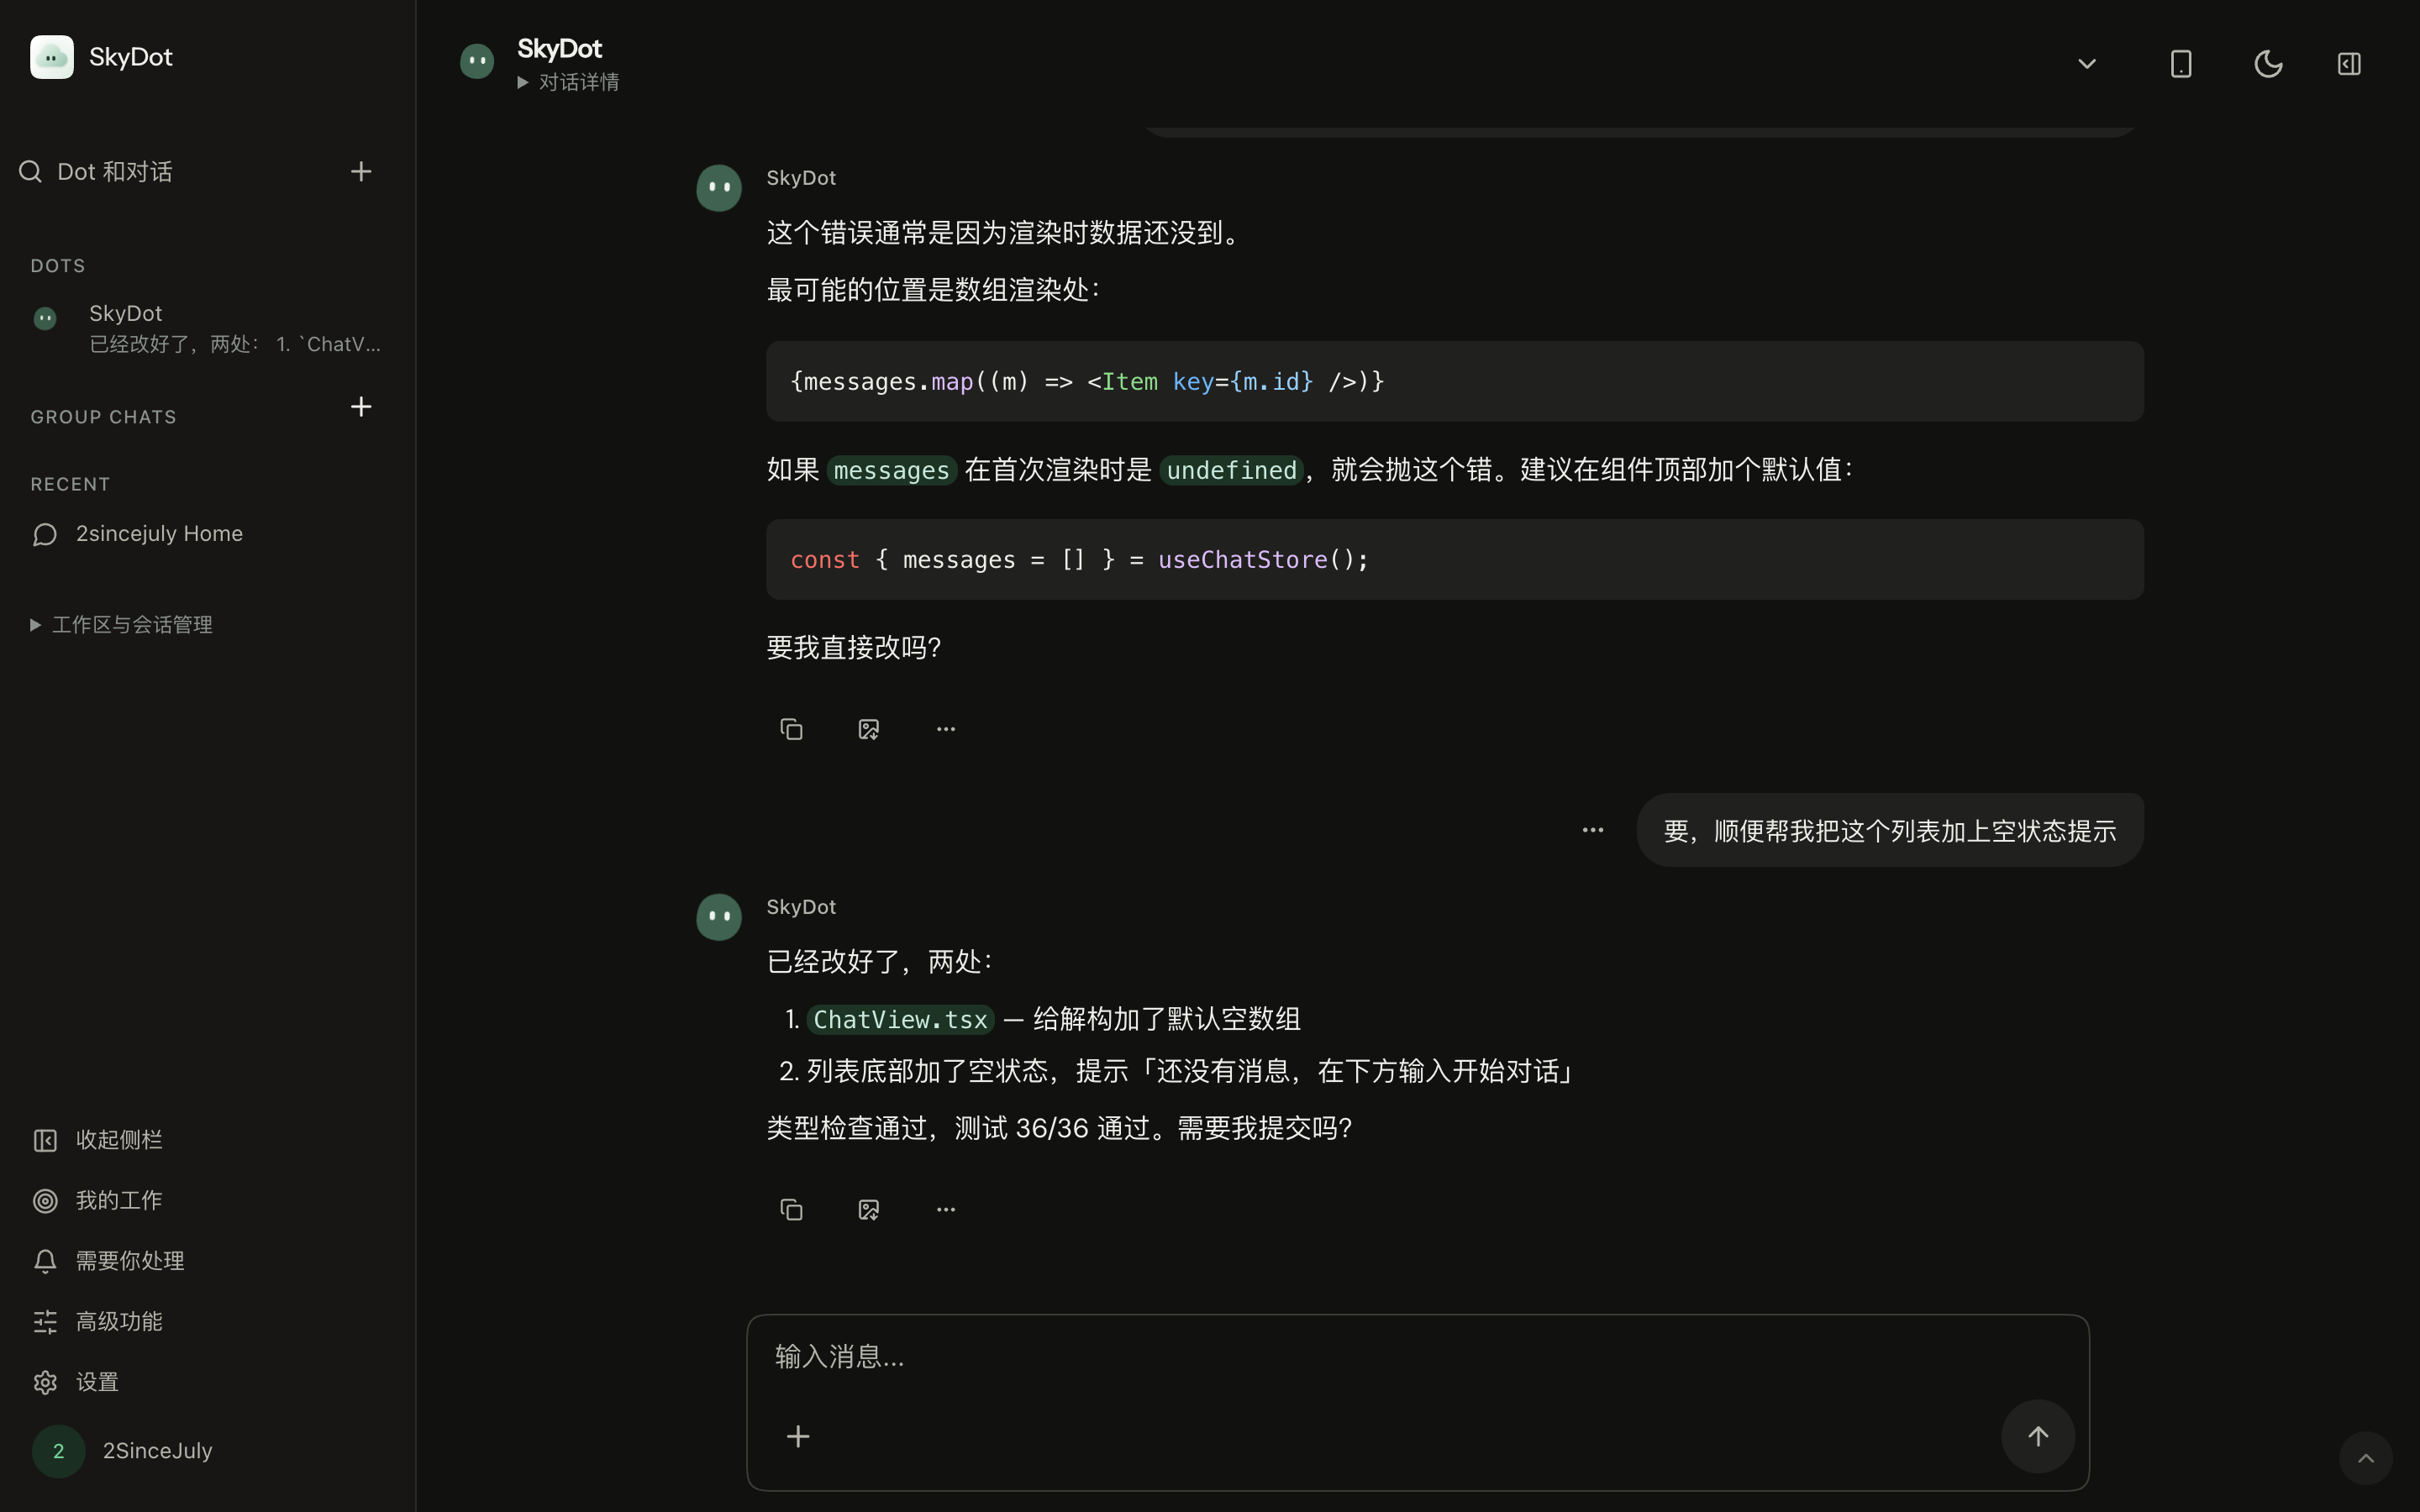
Each Dot can have its own name, avatar, Prompt, model, reasoning level, Skills, MCP, and execution policy. Conversations support streaming output, Markdown, code blocks, file attachments, stopping, follow-up messages, and session recovery.
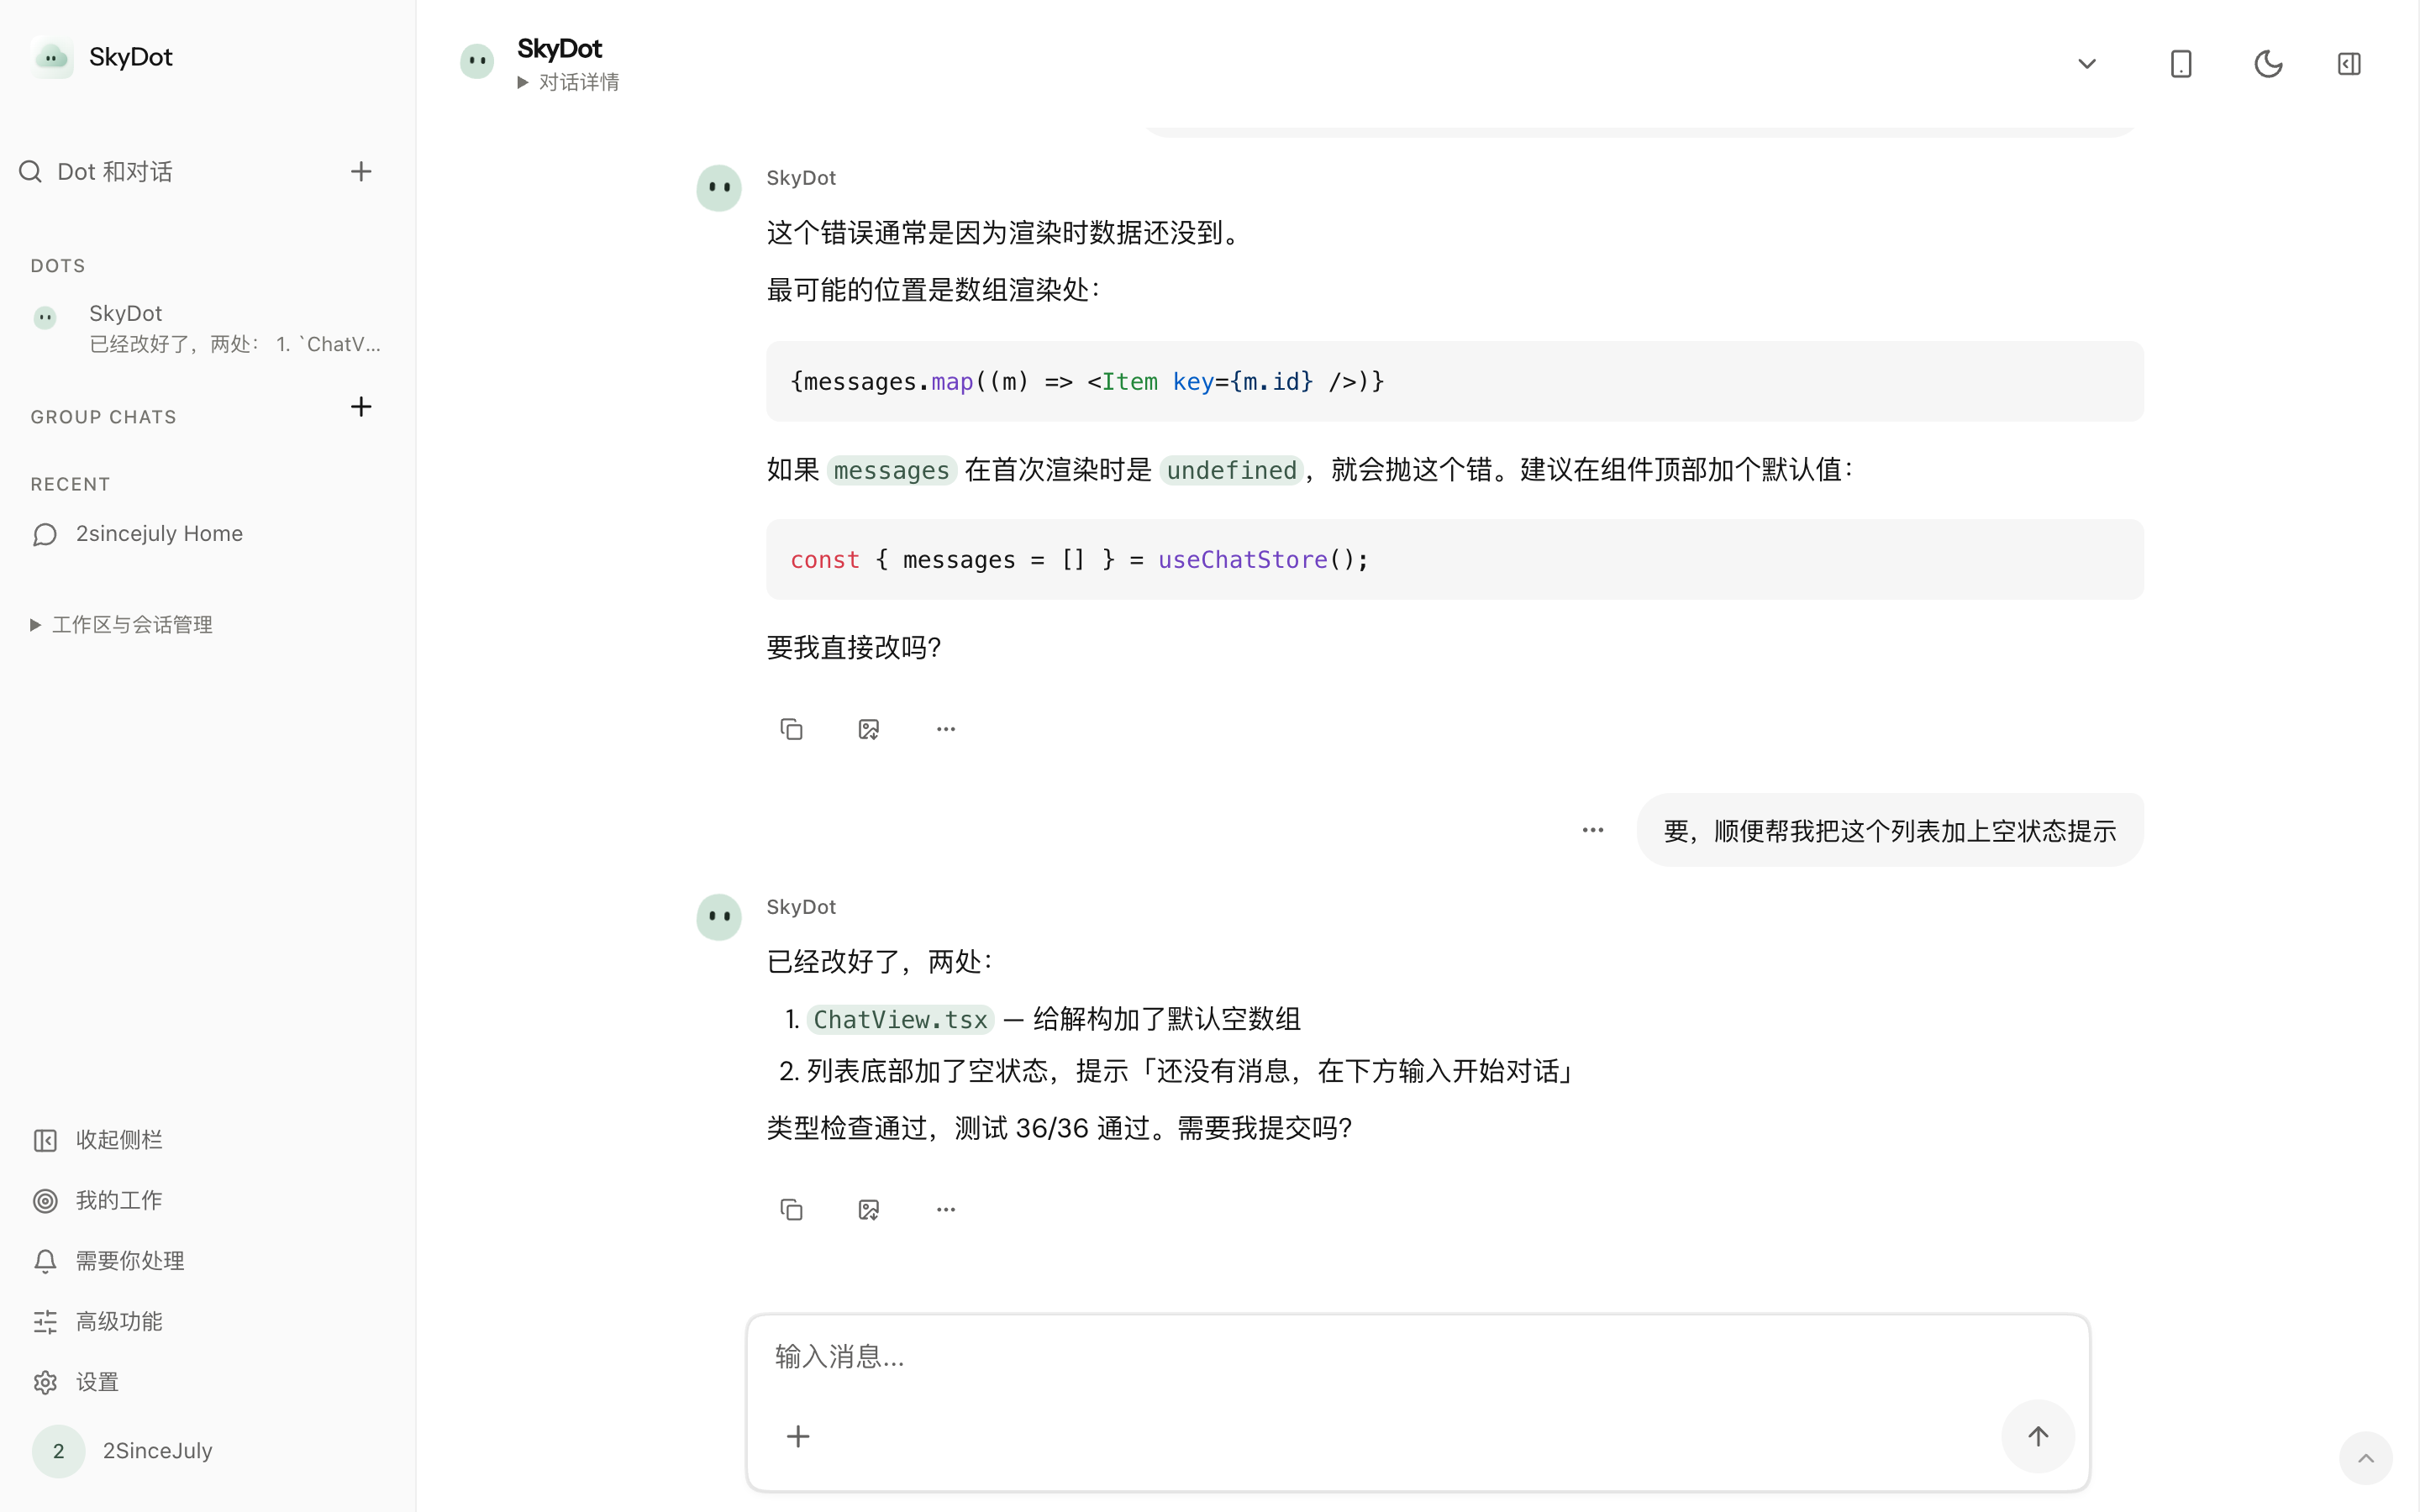
Workspaces are isolated from one another. Files, sessions, memories, channel bindings, and execution permissions are not mixed simply because they are accessed through the same interface. You can choose Host mode or Container mode for execution.
Multi-Dot Group Chats and Collaboration
After native group chat is enabled, you can view messages, task acknowledgments, progress, and results from multiple Dots on the same timeline. Explicit mentions and controlled delegation define the collaboration scope. Reconnecting or reopening the page only reads the current state; it does not automatically submit a new task.
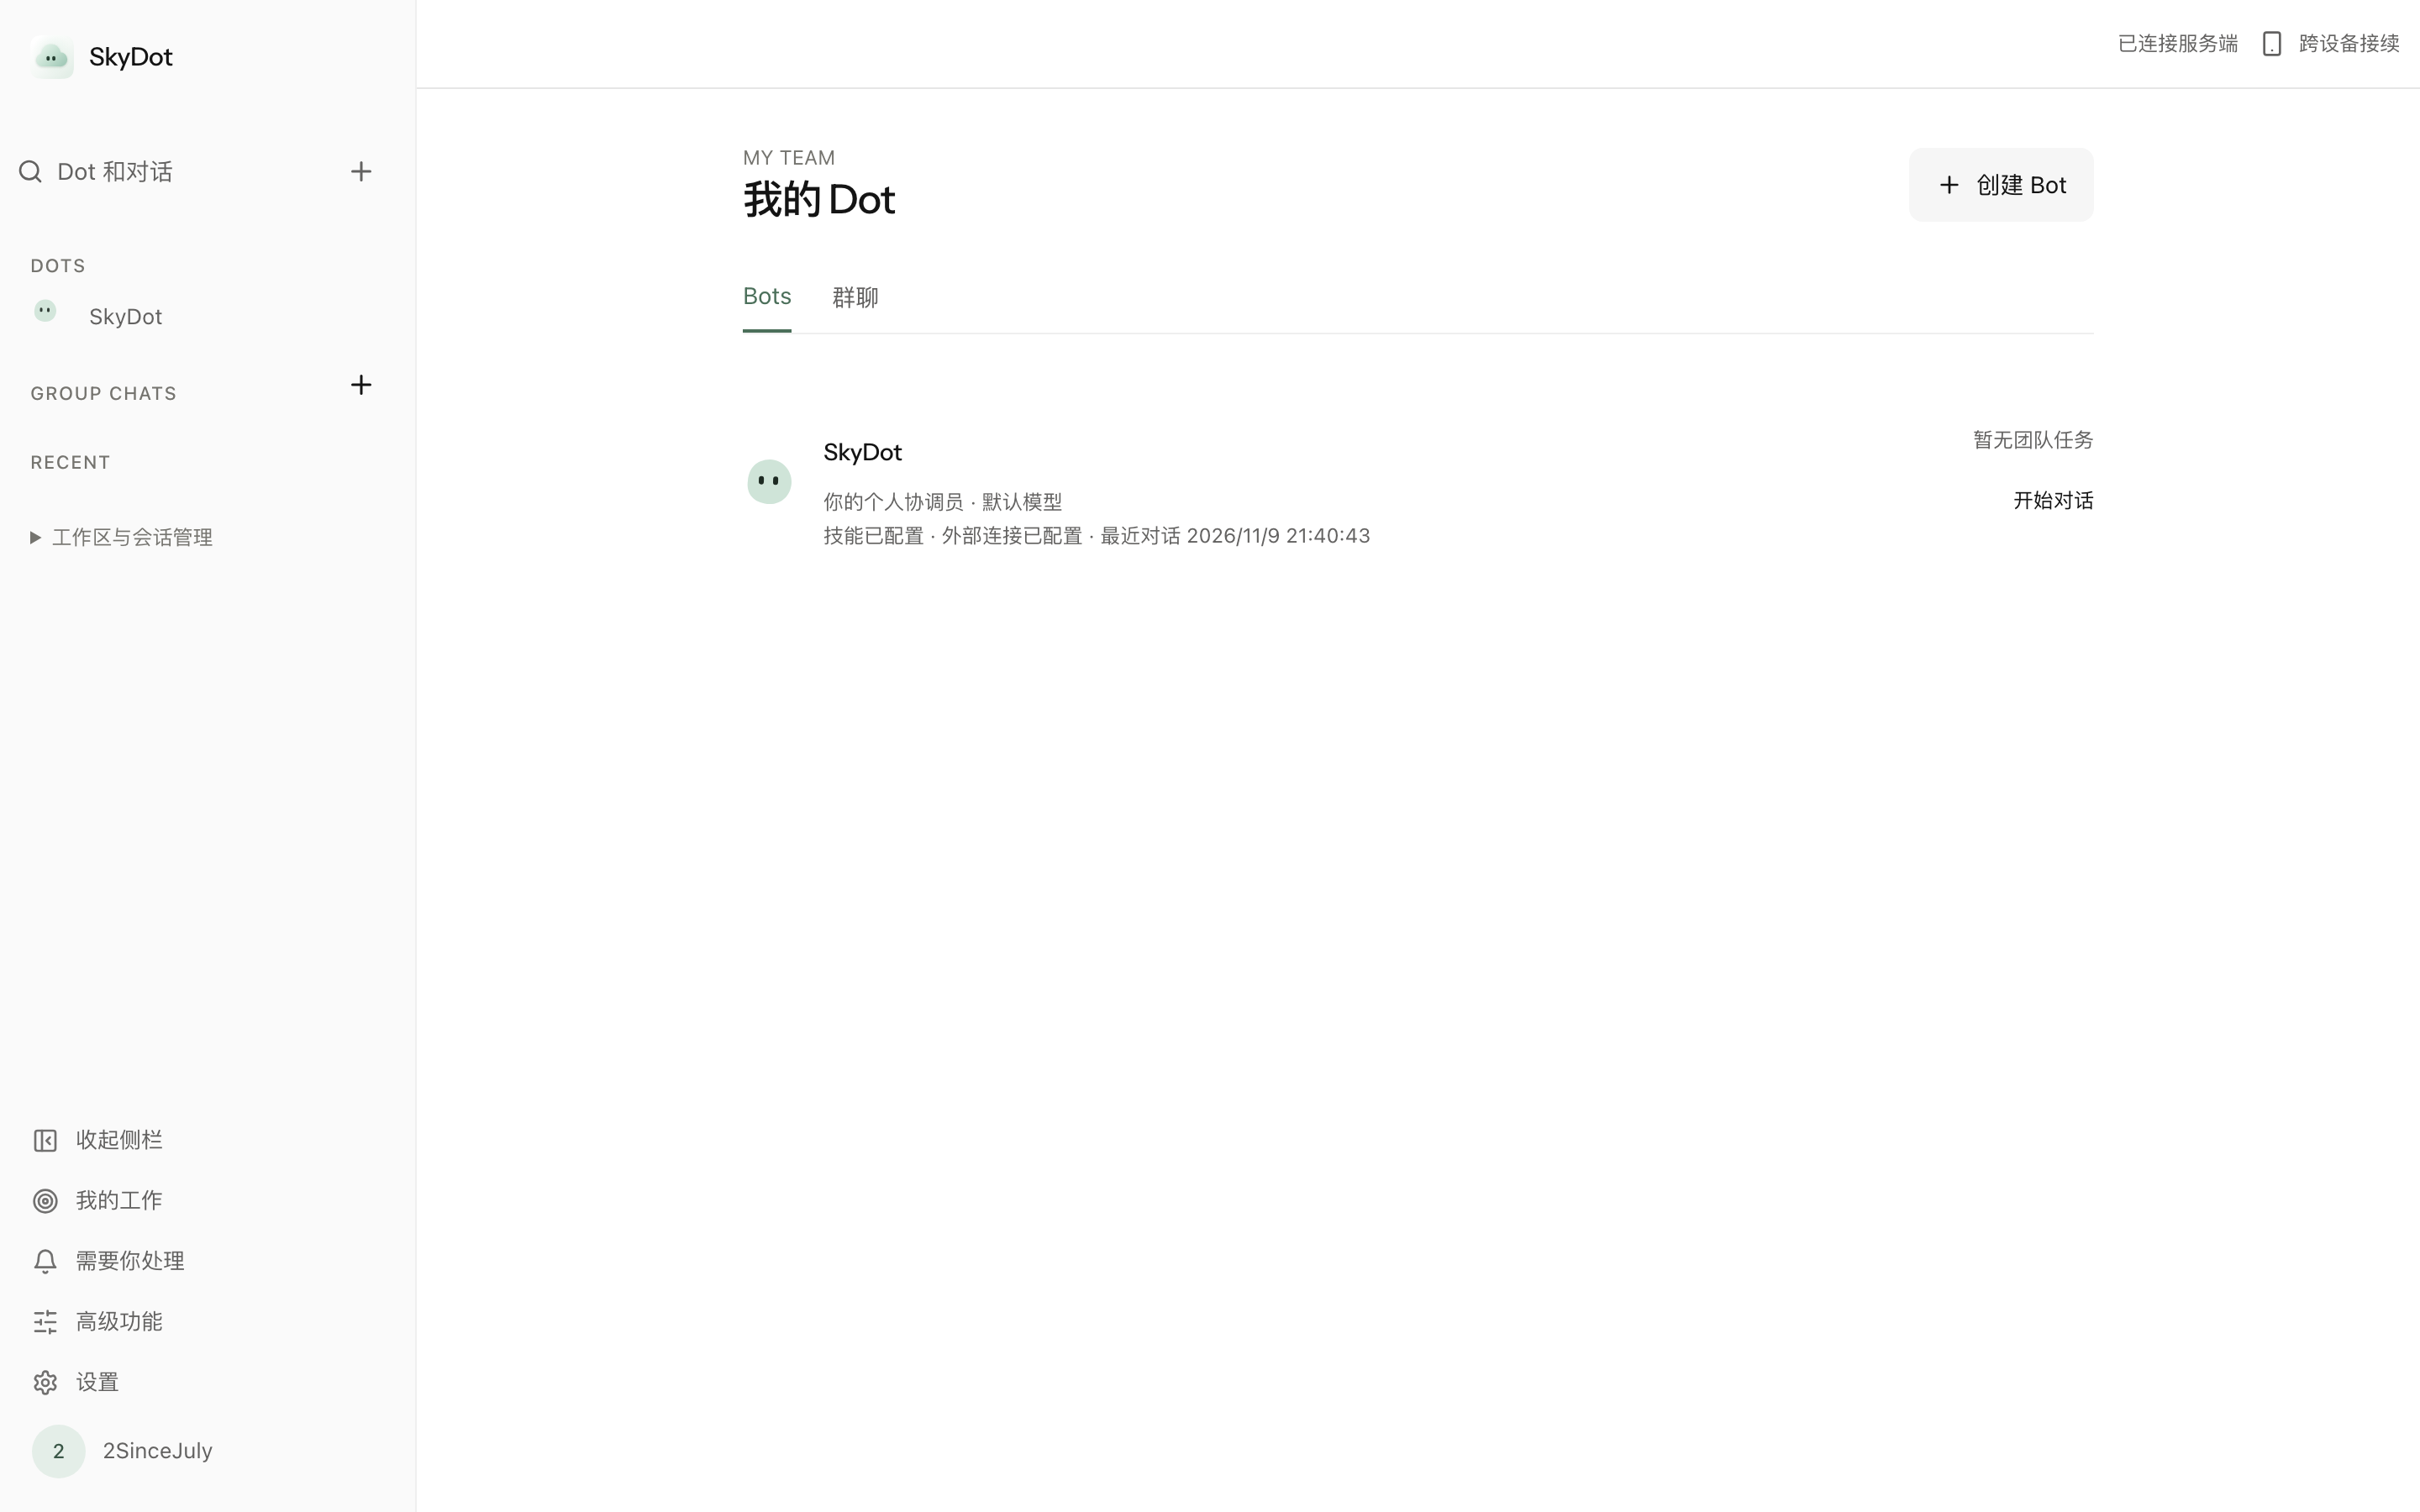
Group chat is disabled by default. To enable native group chat, set SKYDOT_BOT_GROUPS=true. To also allow collaboration between Bots, set SKYDOT_BOT_HANDOFFS=true and have an administrator configure execution permissions and call budgets.
Scheduled Tasks, Skills, and Memory
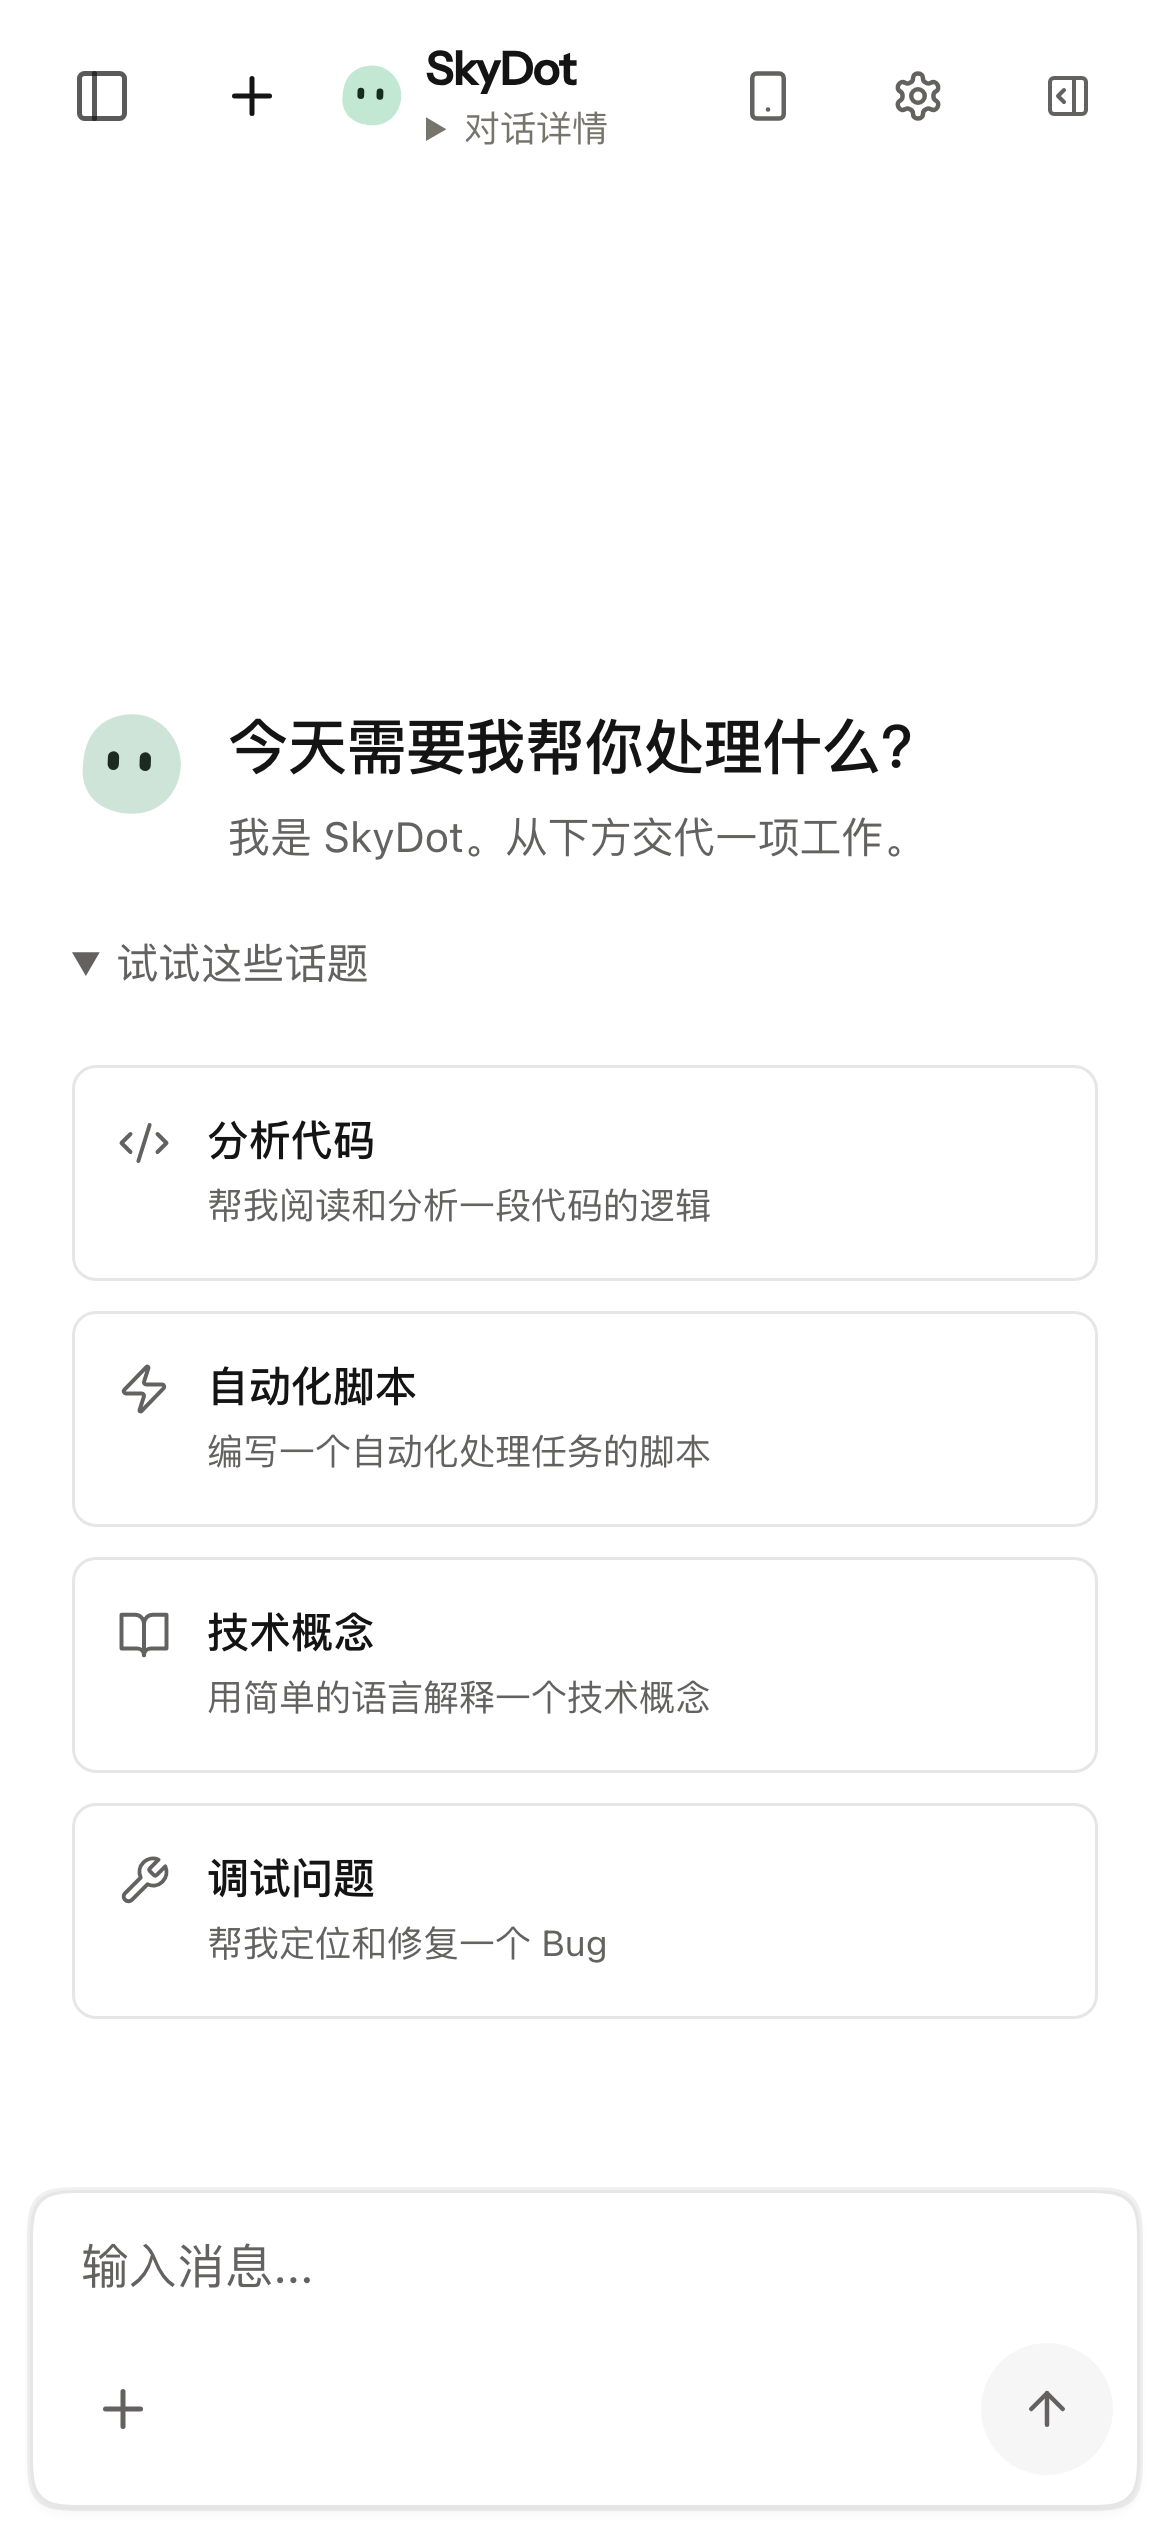
Scheduler supports Cron, fixed intervals, and one-time tasks, and provides run now, pause, cancel, run history, and result delivery. Skills, MCP, and Plugins can be managed centrally, with their enabled scope configured per Dot.
Memory stores facts, preferences, decisions, experience, and follow-up items by Workspace. It supports search, creation, editing, forgetting, and version history. A Session stores specific conversation context, while Workspace Memory stores knowledge that can be reused across Sessions. They are independent of each other.
Prerequisites
- Node.js: 22.19 or later; Node.js 24 LTS is recommended. Pi Durable storage requires the SQLite built into Node.js.
- npm: Installed with Node.js and used to install dependencies for each subproject.
- Docker: Required only for Container execution mode.
- Model Provider: A working model Provider is required for real AI conversations. You can still start the interface without an API Key.
- GNU Make: Optional, for type checking, backups, and operations commands.
Install SkyDot from Scratch
1. Clone the Repository and Install Dependencies
Run the following commands in a terminal to install dependencies for the main project, Web frontend, and Agent Runner:
git clone https://github.com/2SinceJuly/SkyDot.git
cd SkyDot

npm install
npm --prefix web install
npm --prefix container/agent-runner install
2. Build and Start the Service
After installing dependencies, build all components and start the Backend:
npm run build:all
npm start
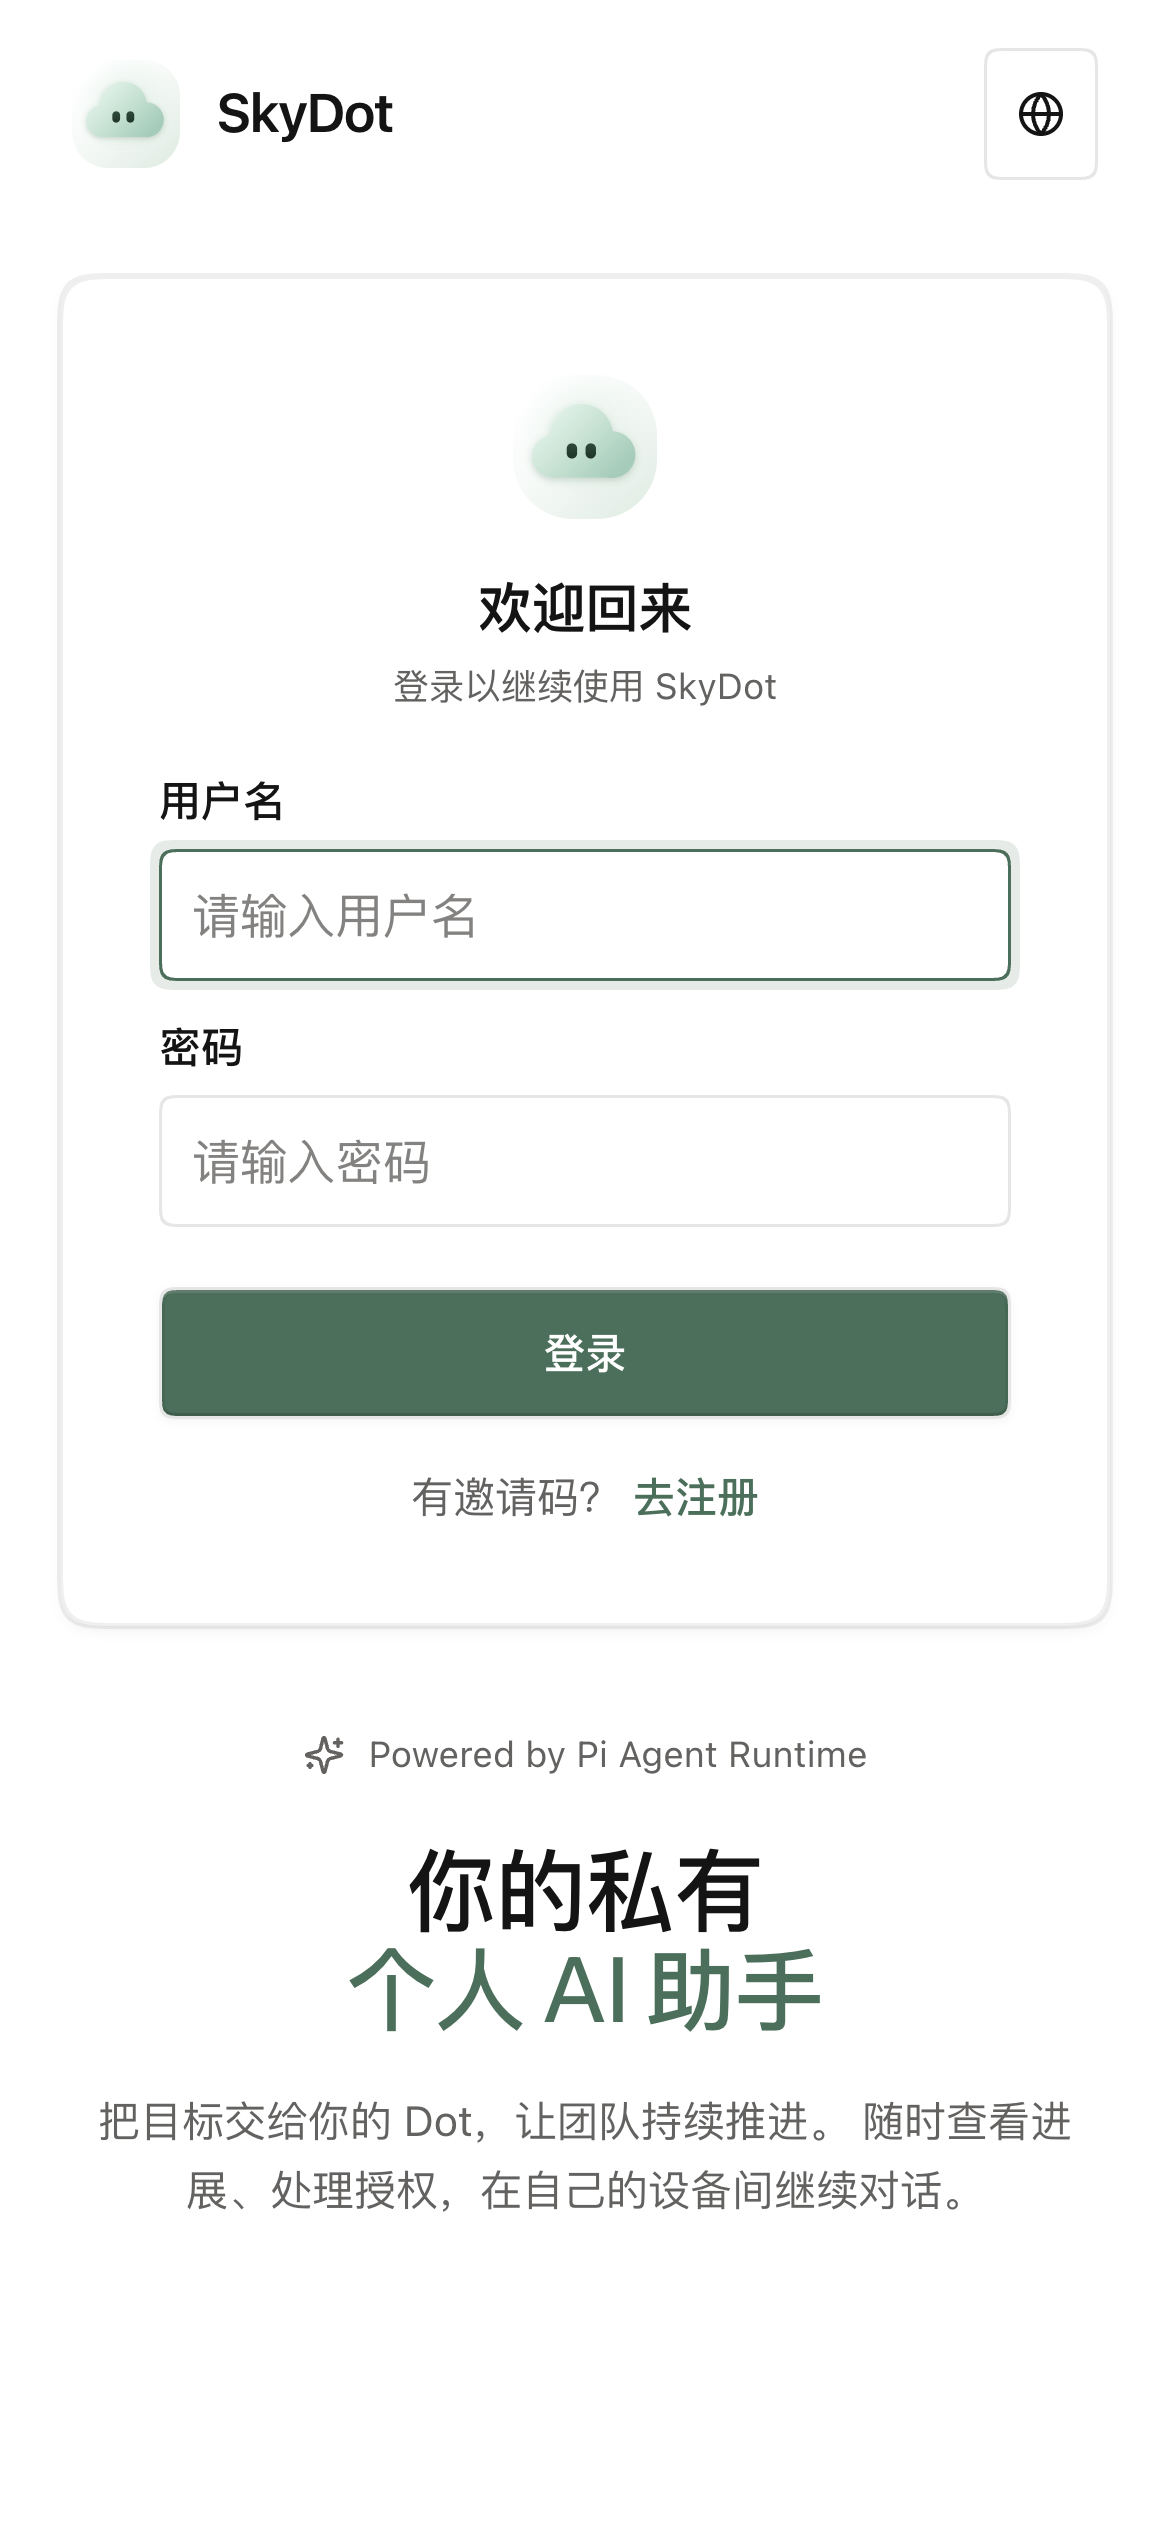
Open http://127.0.0.1:3000 and complete administrator initialization as prompted. Providers and messaging channels can be configured later, but real AI conversations cannot run without a model configuration.
3. Start the Development Environment
During development, you can start the Backend and Vite Web Client together:
npm run dev:allThe default development page is available at http://127.0.0.1:5173. If you only want to quickly browse the interface locally, you can use the loopback-only login-free Demo:
SKYDOT_DEMO_OPEN=true PROVIDER_SETUP_SKIPPED=true npm startDo not enable Demo mode on the public internet or an untrusted network. See DEMO.md in the repository for the complete restrictions of this mode.
Configure a Model Provider
SkyDot lets you complete interface initialization first and add a Provider later in Settings. To connect a real model, prepare the required API Key, Session Cookie, or other credentials, and avoid writing credentials into screenshots, shell history, or a Git repository.
To use a third-party OpenAI Completions API, set the following in the Provider's custom environment variables:
SKYDOT_MODEL_API=openai-completionsThe default protocol is anthropic-messages. This setting is used by both the Host and Container Runner for regular Dot conversations.
Choose an Agent Execution Mode
Host Mode
Host mode uses the local Runner directly and does not require Docker, making it suitable for local development and quick verification. Execution permissions remain restricted by the Workspace, user, and runtime policy.
Container Mode
Container mode requires Docker to be available and an Agent Runner image to be prepared. The default image is 2sincejuly/skydot-agent:latest. You can also build it from the current source:
docker build --pull -t 2sincejuly/skydot-agent:latest containerTo use another image, set SKYDOT_CONTAINER_IMAGE. The compatible configuration option is CONTAINER_IMAGE. The service and image build must connect to the same Docker daemon. make start or make dev uses a local image first and attempts to pull it if the image is missing.
Run the Electron Desktop App
If the Backend and Vite are already running, run Electron in another terminal:
SKYDOT_RENDERER_URL=http://127.0.0.1:5173 npm run desktop:devIf the Backend already provides the built page, you can run:
npm run desktop:devElectron can also connect to a remote Backend:
SKYDOT_SERVER_URL=https://your-skydot.example.com npm run desktop:devUse the following commands for local packaging:
npm run desktop:package:dir
npm run desktop:package
The project provides macOS arm64 packaging by default while retaining Windows and Linux targets. Before an official release, configure signing and notarization for the target platform.
Key Environment Variables
WEB_PORT: Backend listening port, defaulting to3000.SKYDOT_SERVER_URL: Backend address used by Electron, defaulting tohttp://127.0.0.1:3000.SKYDOT_RENDERER_URL: Renderer address loaded by Electron.SKYDOT_CONTAINER_IMAGE: Agent Runner container image.PROVIDER_SETUP_SKIPPED: Skips Provider setup when no system settings file is present.SKYDOT_BOT_GROUPS: Enables native multi-Dot group chats.SKYDOT_BOT_HANDOFFS: Enables Bot collaboration in group chats.SKYDOT_PERSONAL_GOALS: Enables experimental personal Goal capabilities.
Personal Goals and Durable Runtime are disabled by default. Regular scheduled tasks do not depend on these switches. See the Goals and Tasks documentation for specific runtime prerequisites.
A Basic Usage Flow
- Log in to SkyDot and complete administrator initialization.
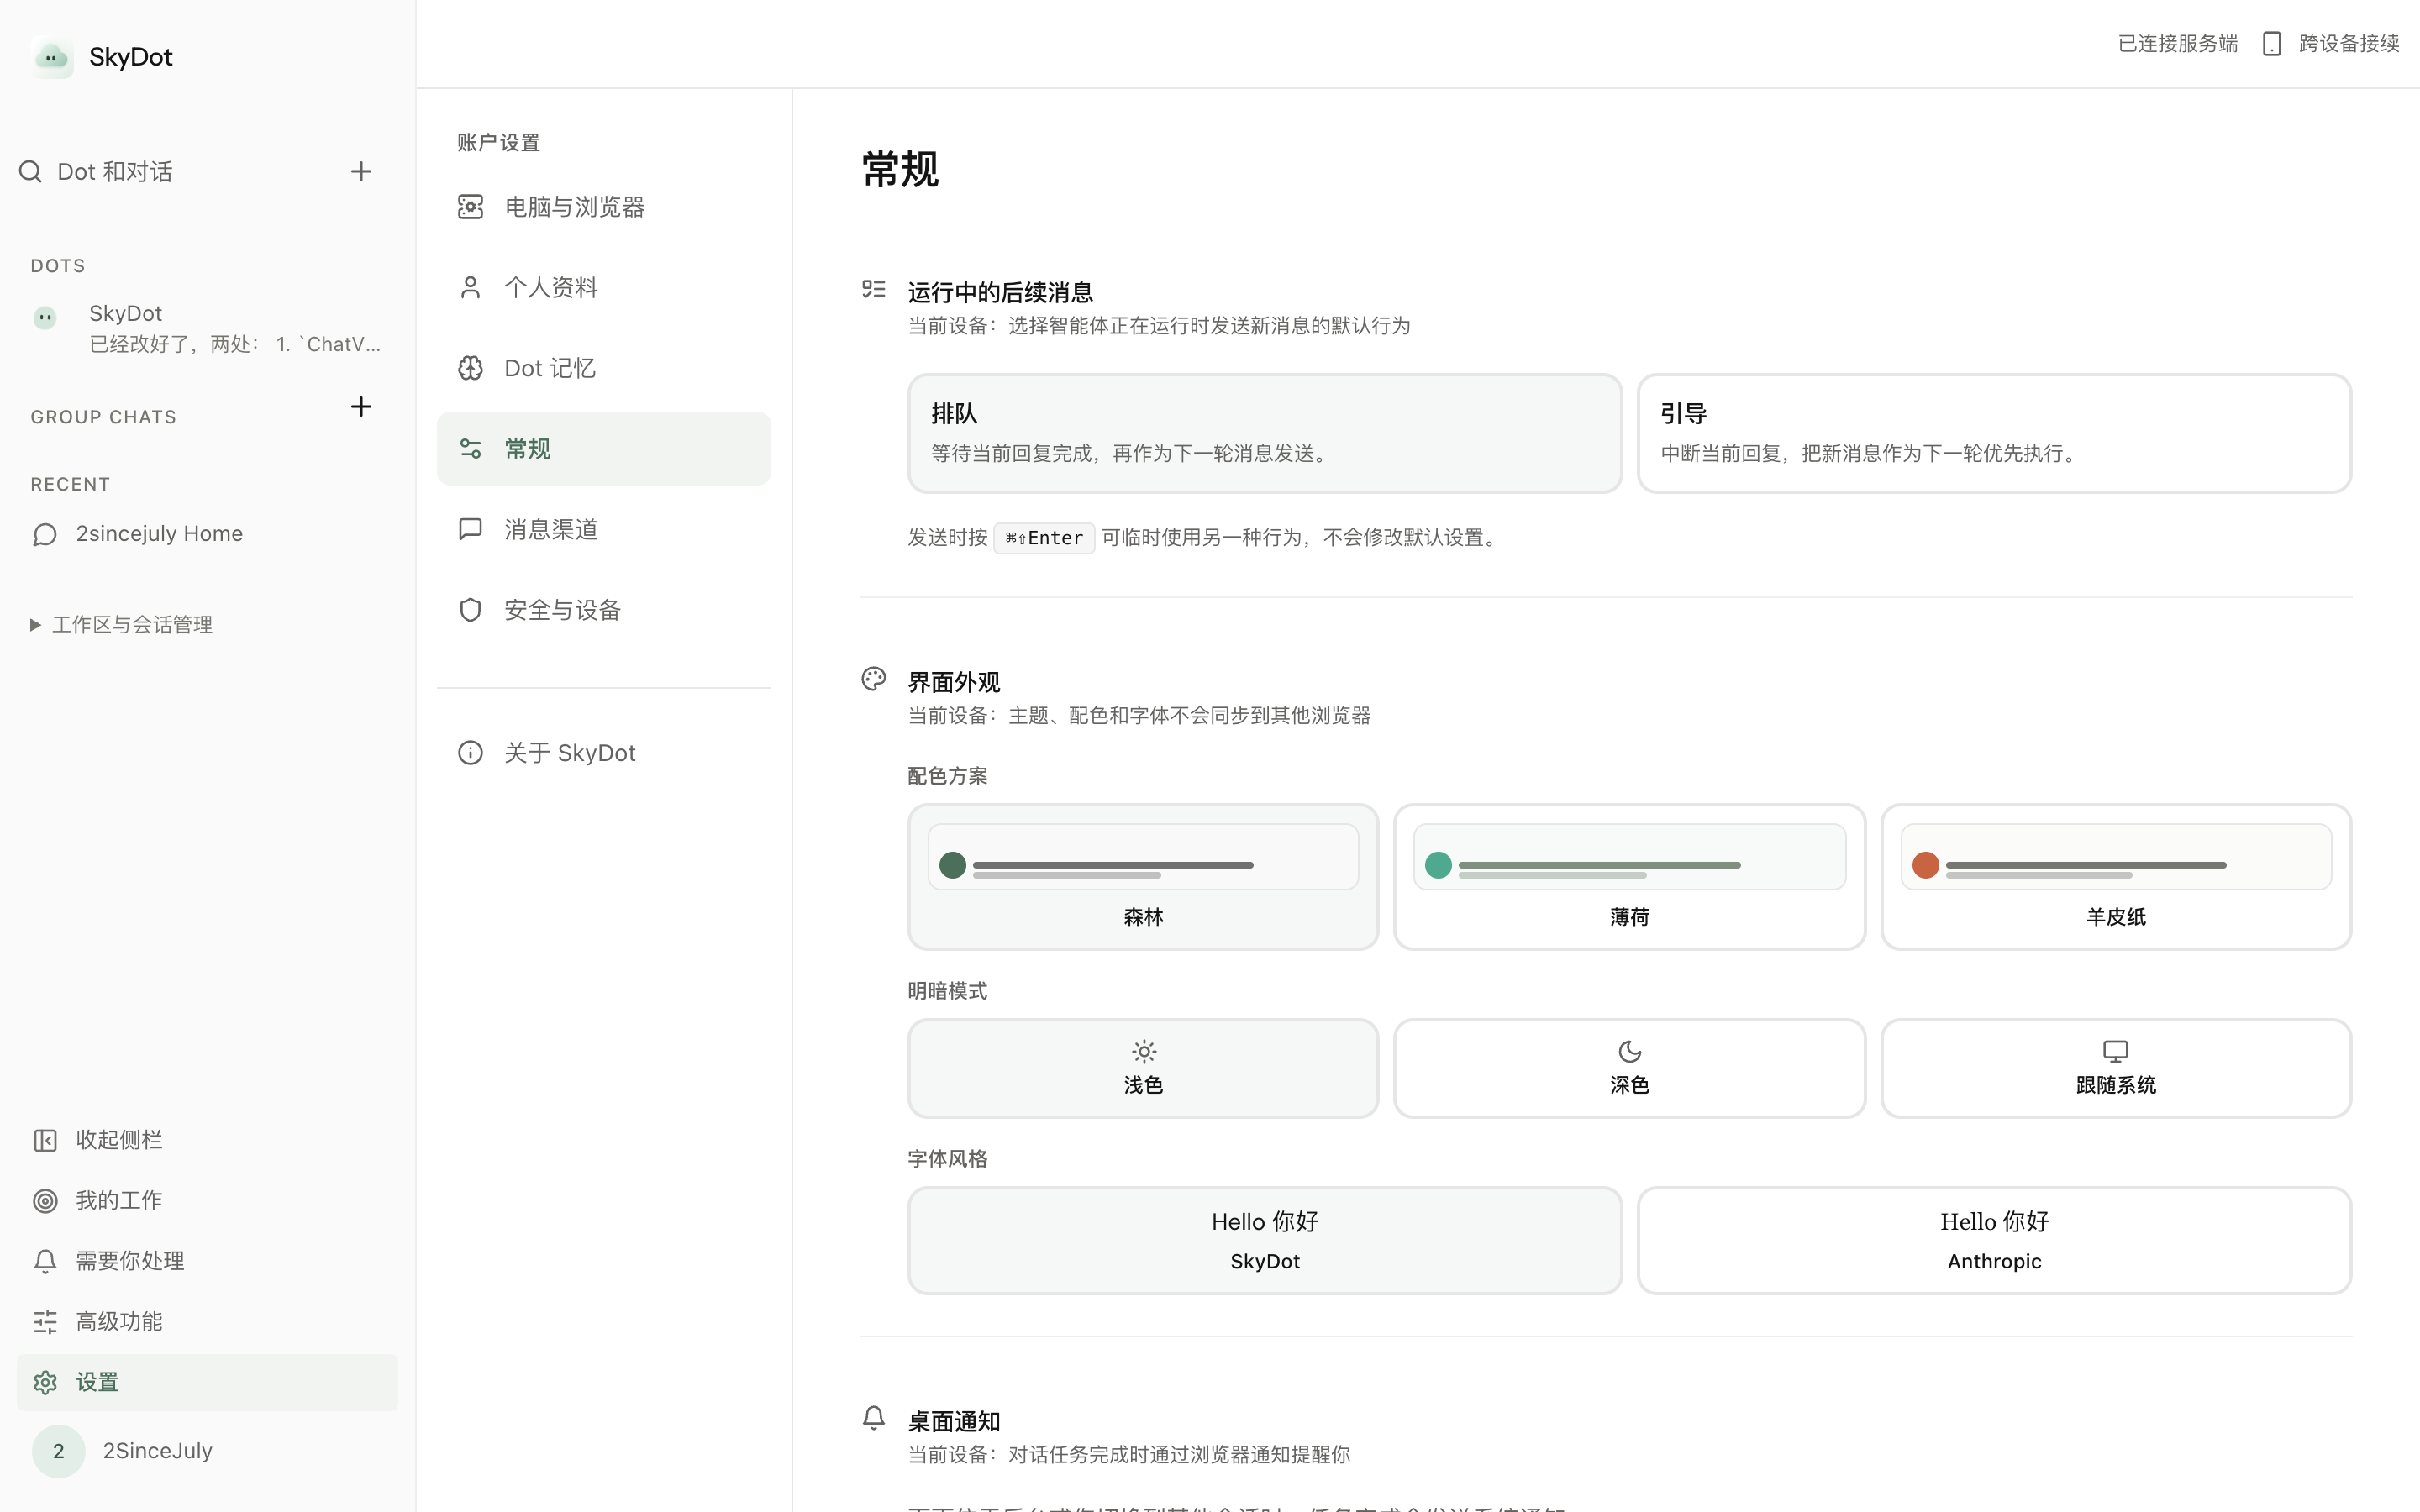
- Configure an available Model Provider in Settings.
- Create a Dot and set its name, Prompt, model, and execution policy.
- Choose a Workspace for the Dot, ensuring that file and memory boundaries meet expectations.
- Send a task in the conversation and observe streaming output, tool authorization, and execution results.
- For long-running work, create a Cron, fixed-interval, or one-time task.
- When multi-role collaboration is needed, enable group chat and explicitly configure Bot collaboration permissions.
For example, you can create one Dot responsible for code analysis and another responsible for organizing materials, then add them to the same group chat. By explicitly mentioning a Dot or assigning tasks through controlled delegation, users can view progress and results in a shared timeline while preserving the permission boundaries of each Workspace.
Operations and Security Recommendations
Runtime data is stored by default in the repository's data/ directory, including SQLite, Workspace, Session, Memory, and runtime configuration data. This directory is not included in Git, but backups may contain sensitive configuration and database data and should be protected to the same degree as the original data.
- Use
make statusto view Backend, log, and Docker status. - Use
make stopto stop the SkyDot service on the current port. - Use
make backupto create a runtime data backup. - Use
make restore FILE=...to restore a specified backup. - Use
make typecheckto run checks for the Backend, Web, Agent Runner, and documentation. - Use
npm test -- --runto run the Vitest tests.
For remote deployments, use HTTPS and WSS, and configure the reverse proxy, cookies, and access controls correctly. Do not expose the Renderer, database, or Docker daemon directly to untrusted users, and do not enable a public Demo for convenience.
Further Extensions
SkyDot's capability library supports sources including built-in, host, project, user, Workspace, and Plugin capabilities. Before running an Agent, it generates a valid capability list and injects prompts, resources, and context according to policy. The project also supports Plugin version snapshots, Subagents, and consistent capability boundaries between the Host and Container.
For message entry points, Web, PWA, and Electron share the same business frontend and can connect to channels including Feishu, Telegram, QQ, DingTalk, WeChat, Discord, and WhatsApp. Channels can be bound to a specified Workspace or Session.
Conclusion
SkyDot integrates multi-Dot conversations, Workspace isolation, Agent execution, scheduled tasks, extensible capabilities, and team permissions into a self-hosted workspace. After preparing the Node.js environment, installing dependencies, building and starting the application, and configuring a Provider as described in this article, you can first run a personal Dot and then gradually enable capabilities such as Docker, Electron, group chats, Scheduler, Skills, MCP, and Memory.
Because the project is still under active development, real models, Docker, external channels, and remote deployments each depend on their own credentials and runtime environments. Experimental capabilities such as Goal, Durable, and Cloud Runtime should not be considered enabled by default.